
Last updated November 15, 2026
 Wrought iron
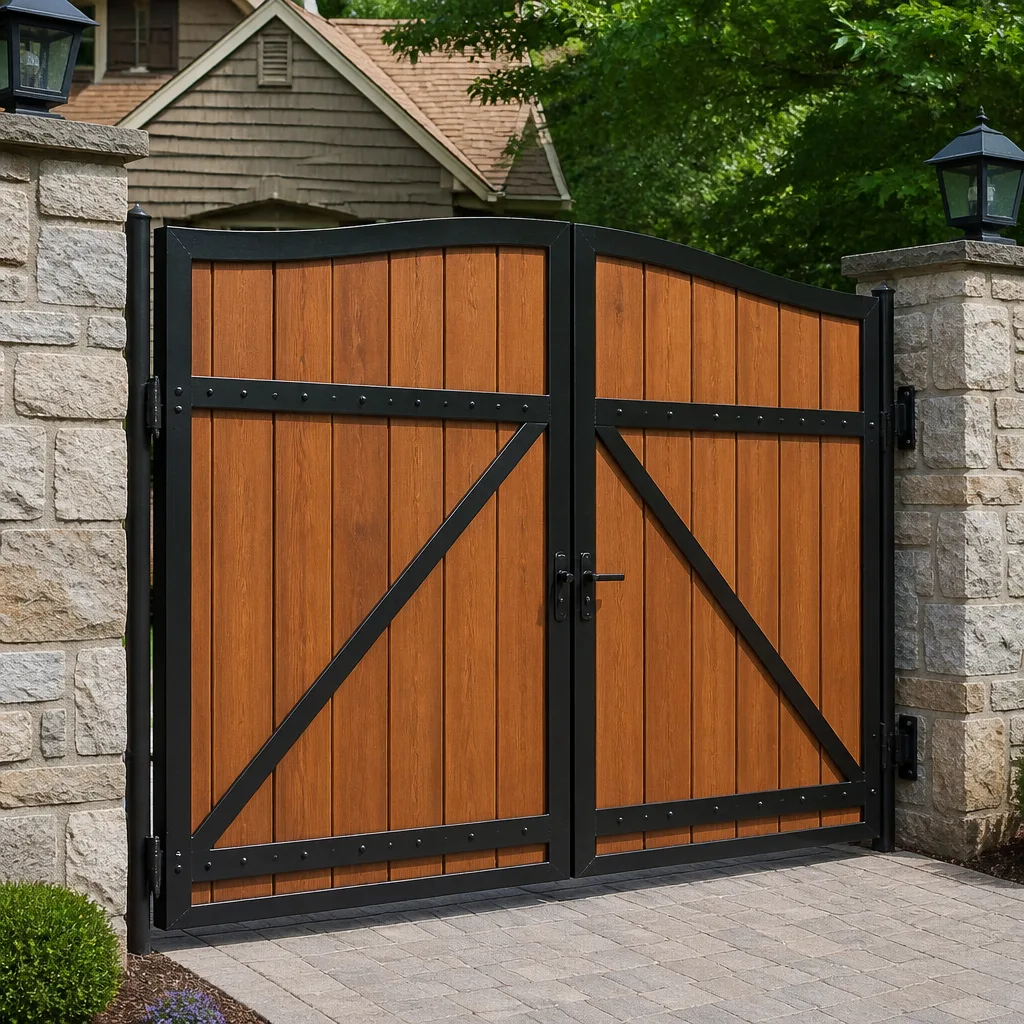 Wood & steel frame
 Farm & ranch
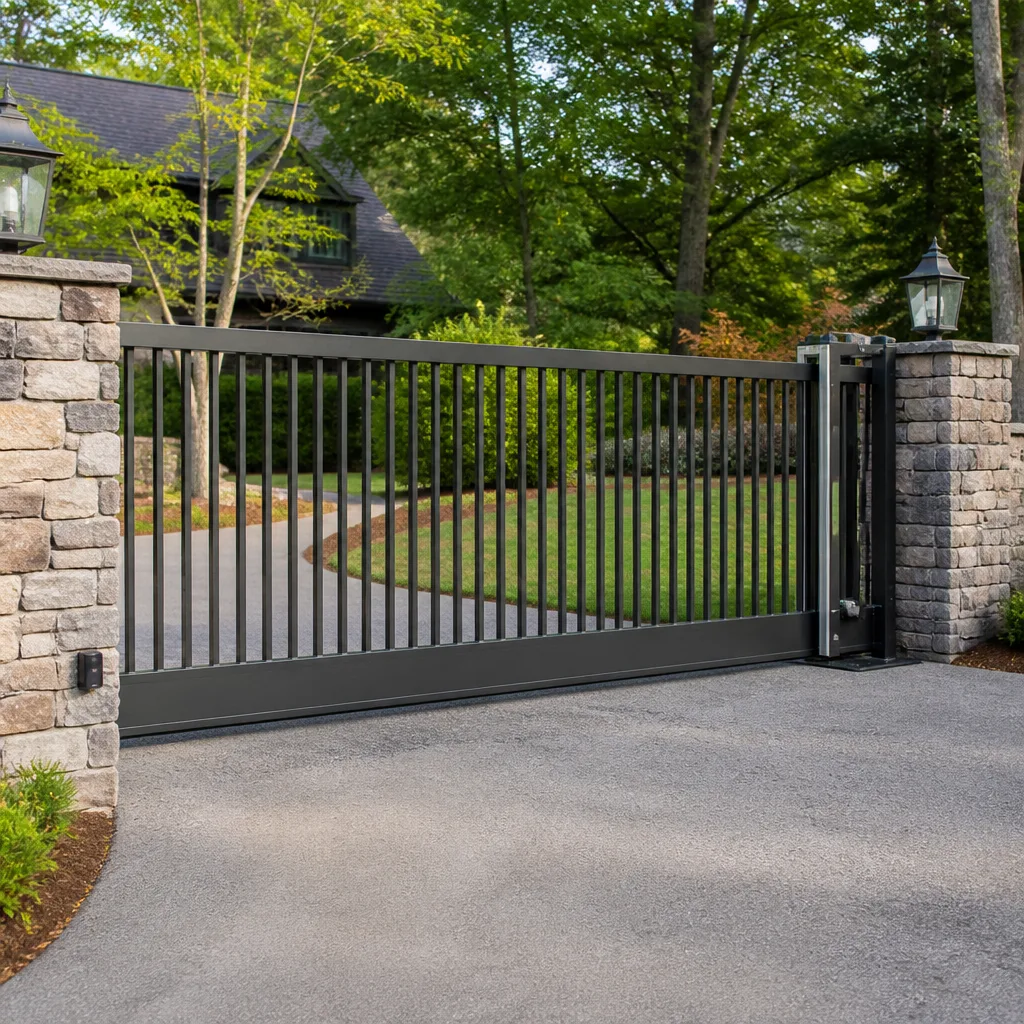 Sliding driveway gates
 LiftMaster operators
Free on-site gate assessment - hinges, posts, and your LiftMaster or Nice gate operator checked before anything is quoted
The assessment is free and the quote is the invoice.
Get your free estimateGate Repair Maintenance Schedule: What to Do and When
A swing gate hinge that gets greased every 6 months lasts 12 to 15 years. One that doesn’t gets replaced in about 4. The difference isn’t the hardware. It’s one tube of lithium grease applied at the right interval, before metal starts grinding on metal. Most gate owners in Ventura treat maintenance as an annual afterthought, which means they’re servicing parts that failed months earlier and ignoring parts that are quietly wearing out right now. In this guide we’ll give you a task list built around how a gate actually ages, with intervals tied to mechanical wear rate rather than arbitrary calendar dates, plus the seasonal checklist that keeps a Ventura gate moving through summer heat and Santa Ana wind debris.
Quick Answer
A gate maintenance schedule should be built around wear rate, not the calendar. Check hinges, rollers, and the track or guide every 30 days, grease hinge points every 6 months, test the operator’s safety reverse and load every 6 months, and inspect posts, footings, and hardware annually. Plan heavier lubrication before the first winter rains and drainage checks around posts as wet weather arrives.
Styles & brands we work with
- Wrought iron
- Wood & steel frame
- Farm & ranch
- Sliding driveway gates
- LiftMaster operators
Table of Contents
- Why Gate Maintenance Intervals Should Follow Wear, Not the Calendar
- The 30-Day Check: The Fast Tasks That Prevent Expensive Failures
- The 6-Month Service: Lubrication, Tension, and Safety Testing
- The Annual Inspection: Post Footings, Hardware, and the Operator Load Test
- How Ventura’s Climate Shifts the Standard Timelines
- Checking Chain and Ram Tension Without Special Tools
- The Seasonal Checklist: Spring, Summer, Fall, Winter
- Manual Gates vs. Automated Gates: What Changes
Why Gate Maintenance Intervals Should Follow Wear, Not the Calendar
A gate doesn’t wear on a schedule. It wears in cycles: every swing, every slide, every time the operator pushes the leaf through its arc. A residential driveway gate that opens a dozen times a day puts far more cycles on its hardware than a side-yard gate used twice a week, even if both are the same age. That’s why the most common maintenance advice (“service your gate once a year”) is often wrong in both directions. It’s too late for a gate doing a hundred cycles a day and wasteful for one doing twenty.
The better approach: build your schedule around the wear rate of each component group, then adjust for conditions. In our experience, gate hardware falls into three rough tiers.
- High-wear parts (check every 30 days): hinge pins, roller wheels, guide rollers, latch catches, and the visible chain or ram rod. These take direct friction on every cycle and are the first to announce a problem through squeaks, shudder, or misalignment.
- Medium-wear parts (service every 6 months): hinge grease points, chain tension, the operator’s safety sensors and reverse test, and the motor arm mounting bolts. These wear slower but degrade without obvious warning.
- Low-wear, high-consequence parts (inspect annually): post footings, weld integrity on the frame, operator housing seals, control board enclosure, and ground-level hardware. These rarely fail fast, but when they do, the repair is bigger.
The reason this matters is timing. A hinge that’s checked monthly gives you a window: you notice the squeak, add grease, and keep the pivot alive. A hinge that’s checked annually has usually already worn through its grease and started scoring the pin. Once that happens, replacement is the only answer. Ventura gate owners who follow a wear-based schedule catch those failures at the cheap stage, before a routine lubrication turns into a hardware swap.
The 30-Day Check: The Fast Tasks That Prevent Expensive Failures
The monthly check should take about 10 minutes and requires no tools beyond your hands and ears. The goal is early detection, not repair. You’re looking for changes since last month: a new rattle, a scrape that wasn’t there, a gate that drifts left as it swings.
Walk the gate through one full cycle while watching and listening. Then work through these five checks:
- Hinge and pivot sound. Open and close the gate by hand (disconnect the operator first if it’s automated). Listen for squeaks, groans, or a grinding feel. Any new sound means a dry or worn pivot.
- Gate sag. Check whether the free end of the gate sits at the same height it did last month. A drop of even half an inch over a few weeks usually points to a loosening hinge or a post footing that’s shifting.
- Latch alignment. The latch should catch smoothly without you lifting the gate or pushing it. Misalignment is the earliest sign of hinge wear.
- Track or guide rollers. On a sliding gate, look at the wheels as they roll. Flat spots, cracks, or wobble mean replacement is due. On a swing gate, check the bottom guide roller for the same.
- Visible debris. Blown leaves, twigs, and grit collect at the bottom track or guide channel. Clear it before it starts grinding under the wheels.
This is also where Ventura’s Santa Ana wind events show up. After a windy stretch, run the 30-day check early. Debris pushed into the track by a wind event is the most common cause of a gate that suddenly stops mid-travel, and it’s almost always a five-minute fix if you catch it before the wheels grind across it. For anything that’s already gone mechanical, our gate repair team can diagnose what the sound is telling you.
The 6-Month Service: Lubrication, Tension, and Safety Testing
Every 6 months, the gate moves from checks to actual service. This is the interval that separates a gate that lasts 12 to 15 years from one that fights you at year 4. It covers three task groups: lubrication, mechanical tension, and safety testing on automated systems.
Lubrication
Use lithium grease on hinge pins and pivot points, and a light chain lubricant (not motor oil, not WD-40 as a long-term solution) on the chain if you have one. Don’t overdo it. Excess grease attracts grit, and grit is what turns grease into lapping compound. A thin coat on each pivot is all you need.
Mechanical tension and mounting
Check that all mounting bolts on the operator arm (or the motor and gearbox housing) are tight. Vibration works them loose. On chain-driven slide gates, verify chain tension (see the tension section below). On swing gates, confirm the hinges haven’t drifted out of plumb.
Safety testing on automated gates
This is the part most homeowners skip, and it’s the part that matters most. A gate operator’s safety reverse, safety edges, and photo-eye sensors are what keep the gate from closing on a person, a pet, or a car. Test them every 6 months:
- Photo-eye test: with the gate in motion, block the beam. The gate should stop or reverse. If it doesn’t, don’t use the gate until it’s fixed.
- Safety edge test (if equipped): press the edge strip by hand with the gate moving. Same result: stop or reverse.
- Reverse test: place a solid object in the closing path (a folded towel, never a person). The gate should reverse. If you have an electric gate repair issue with the safety system, that’s a professional call, not a DIY adjustment.
Brands like LiftMaster, Elite, and DoorKing all build their safety systems around the same reverse-and-stop logic, so the test works the same way regardless of which operator you have. We’re familiar with all three, and with the other leading brands we work on. If your safety test fails, stop using the gate until it’s serviced.
Two safety notes before you go further. Gate operators carry line voltage at the motor and control board, and heavy gate panels can crush fingers or limbs if the safety system is disabled. Don’t open the operator housing or try to adjust the safety sensors yourself. That’s a trained technician’s job, and we’ll say it plainly: keep the gate out of service until the safety system is tested and working.
The Annual Inspection: Post Footings, Hardware, and the Operator Load Test
The annual inspection is the deep check that has no monthly or 6-month equivalent. It covers the parts of the gate that don’t announce themselves and the parts of the operator that hide their wear until they fail.
Walk through these in order:
- Post footings. Dig lightly around each post at ground level and look for looseness, cracks, or shifting. A post that rocks is a footing problem, and footing problems get bigger with each wet season.
- Frame and weld integrity. Check every weld joint on the gate leaf. Hairline cracks in the frame often start where the hinge mounts to the frame.
- Ground-level hardware. Inspect the bottom guide, the bottom hinge, and any hardware that sits close to soil. These are the parts that rust first.
- Operator housing and seals. Look for cracked gaskets, water intrusion, and insect nests inside the housing. On a DoorKing or FAAC commercial operator, this is where hidden damage lives.
- The operator load test. This is the professional-grade check most homeowners skip. It measures how hard the motor is working to move the gate, using current draw and travel time. A motor that’s drawing more current than it was a year ago is under strain, and strain is what becomes burnout. Catching it here is what prevents a total motor failure later.
The load test is worth its own explanation. It reveals motor strain before burnout, and it’s the only check that catches slow mechanical degradation inside the operator. If your gate runs on a LiftMaster or Mighty Mule residential operator, or on a commercial-grade BFT or FAAC system, the load test works the same way: it’s a measurement, not a guess. That’s part of what a gate-only specialist brings to the job, and it’s why a general contractor who rarely touches gates will miss it. When you’re ready for a real Ventura Gate Repair level of inspection, that test belongs on the annual schedule.
How Ventura’s Climate Shifts the Standard Timelines
The intervals above are a baseline. Ventura’s climate moves them, and knowing how is what makes a maintenance schedule local rather than generic.
Marine layer humidity. The overnight marine layer brings frequent condensation onto metal surfaces. That moisture drives corrosion faster than dry inland air, especially on unpainted hardware and on the inside of operator housings. If your gate lives in the low-lying parts of Ventura, plan to inspect hinges and bottom rollers every 30 days instead of every 45, and keep the annual hardware inspection on a strict 12-month cycle rather than stretching it. Grease is your corrosion barrier as much as your friction barrier.
UV intensity. Strong summer sun degrades the plastic and rubber components first: the safety edge strip, antenna housings on radio receivers, and the decorative caps on post tops. UV doesn’t stop the gate. It just quietly cooks the parts you don’t think about until they crack. Check rubber and plastic parts every 6 months, not once a year.
Santa Ana wind debris. Wind events push leaves, dry grass, and grit into tracks, guide channels, and the space where the operator arm meets the gate. After a significant wind event, bump the 30-day check forward and clear the debris. An automated gate that suddenly stalls mid-cycle in late fall is often a track full of blown debris, not a failed motor.
Together, these three factors mean a Ventura gate generally needs the 6-month service pulled slightly tighter than a gate in a dry inland climate. In our experience, the practical adjustment is to add one lubrication touch-up between scheduled 6-month services, especially before the rainy season arrives.
Checking Chain and Ram Tension Without Special Tools
You don’t need special tools to check chain tension on a sliding gate. You do need to know the two measurements that mean it’s time to call a technician.
Chain tension
With the gate at the midpoint of its travel, press down on the top run of the chain at its center point. There should be a small, consistent amount of slack, roughly the width of your finger, with a firm feel when you push. Two warning signs:
- More than finger-width slack in the middle of the chain run, or a chain that visibly sags. A slack chain slaps, wears the sprocket teeth fast, and can jump the sprocket entirely.
- No give at all. A chain tightened too tight loads the operator’s gearbox bearings and shortens motor life. Overtight is as bad as loose.
Adjusting chain tension means moving the operator or the idler sprocket, which changes the geometry of the drive. That’s a technician’s job. For homeowners, the job is noticing the measurement.
Ram and swing-arm tension
On a ram-style or swing-arm operator, the equivalent check is mounting tightness rather than chain tension. Rock the operator arm by hand at its mounting points. There should be no noticeable movement at the bolts. A loose mounting bracket changes the geometry of every stroke and stresses the motor arm. Check the arm’s pivot pins for play: if you can wiggle the arm at the pin, it’s worn.
When it’s time to call
The two measurements that signal a call: chain slack beyond finger width at the midpoint, and visible movement or play at any operator mounting bolt or pivot pin. Left alone, both escalate. Slack chains wear sprockets. Loose mounts crack brackets. This is the sort of thing a gate specialist checks in minutes, and a general handyman often doesn’t look at all.
The Seasonal Checklist: Spring, Summer, Fall, Winter
Here’s the seasonal version of the schedule, formatted the way you’d use it. Read it as a supplement to the interval schedule above, not a replacement.
Spring: Post-Winter Corrosion Check
- Inspect hinges, rollers, and bottom-level hardware for rust or pitting after winter moisture.
- Clean and re-grease every hinge pin.
- Check the operator housing for water intrusion or insect nests.
- Test the safety reverse and photo eyes after the wet season.
Summer: Heat Expansion
- Metal expands in the heat. Watch for a gate leaf that binds or scrapes in the afternoon and moves freely in the morning.
- Check rubber and plastic parts (safety edge, antenna housing, post caps) for cracking from UV.
- Confirm the latch still aligns as the frame expands.
Fall: Pre-Rain Lubrication
- Lubricate every hinge and pivot before the rainy season starts. This is the most important single task of the year in Ventura.
- Clear windblown debris out of tracks and guide channels after Santa Ana events.
- Inspect post footings for movement before wet weather softens the soil.
Winter: Drainage Around Posts
- Check that water drains away from post footings rather than pooling around them.
- Look for new cracks at the post-to-frame junction, which show up first after wet weather.
- Re-check the safety systems after any heavy rain period.
For ongoing issues that need professional attention, our Ventura service covers both residential and commercial gates.
Manual Gates vs. Automated Gates: What Changes
Much of the maintenance schedule is shared between manual and automated gates. The differences are worth knowing, because the added complexity on an automated gate is mostly in the operator, not the gate itself.
Manual gates
A manual gate has hinges, a latch, and sometimes a bottom guide roller. That’s it. The full maintenance schedule boils down to hinge lubrication every 6 months, 30-day checks on hinge play and latch alignment, and the annual footing and frame inspection. Manual gates age slowly. A well-greased manual gate can last 20 years or more if the posts stay solid. The failure modes are hinge wear, post footing movement, and latch misalignment.
Automated gates
Everything above, plus the operator. That adds: safety reverse and photo eyes (test every 6 months), operator mounting bolts (check every 6 months), the motor arm (check play every 6 months), and the annual load test. Automated gates also introduce the operator’s enclosure and control board, which need annual inspection for water intrusion and insect nests. Battery-backup systems on residential operators (Ghost Controls and Mighty Mule are common here) need their batteries checked yearly.
If you’re considering going automated, this is where a full service arc saves a second call. One company handles repair today and installation when you’re ready to upgrade: the same specialist who maintains your manual gate can spec and install the operator for it. When you’re ready to install, look for a written, itemized estimate that covers the operator, safety edges, safety loops, and any electrical work needed to run power to the gate. Never sign an install estimate that skips the safety edge and photo-eye line items; both are essential.
Common Mistakes to Avoid
- Greasing on a fixed calendar instead of a cycle count. Two identical gates need different intervals if one opens 100 times a day and the other opens 20. Match the interval to the use.
- Using oil or spray lubricant on hinges. Light oil runs off the pivot and collects grit. Lithium grease stays put and stays clean. If you only remember one thing from this guide, remember that.
- Ignoring the safety reverse test on automated gates. Photo eyes and safety edges can fail silently. Testing every 6 months is the single most important habit on an automated gate.
- Stretching the annual hardware inspection during dry years. Ventura’s marine layer humidity keeps corrosion going even when it hasn’t rained. The annual inspection stays on 12 months, every year.
- Adjusting chain tension without knowing the geometry. Tightening a chain by moving the idler sprocket changes how the drive loads the motor. If it needs adjustment, call a technician.
- Opening the operator housing to “take a look.” Line voltage, moving parts, and control boards aren’t a homeowner service area. Keep the housing closed.
- Skipping the annual load test because the gate “still works.” The load test is what catches motor strain before burnout. A gate that runs fine today can be 20% harder to move than it was last year.
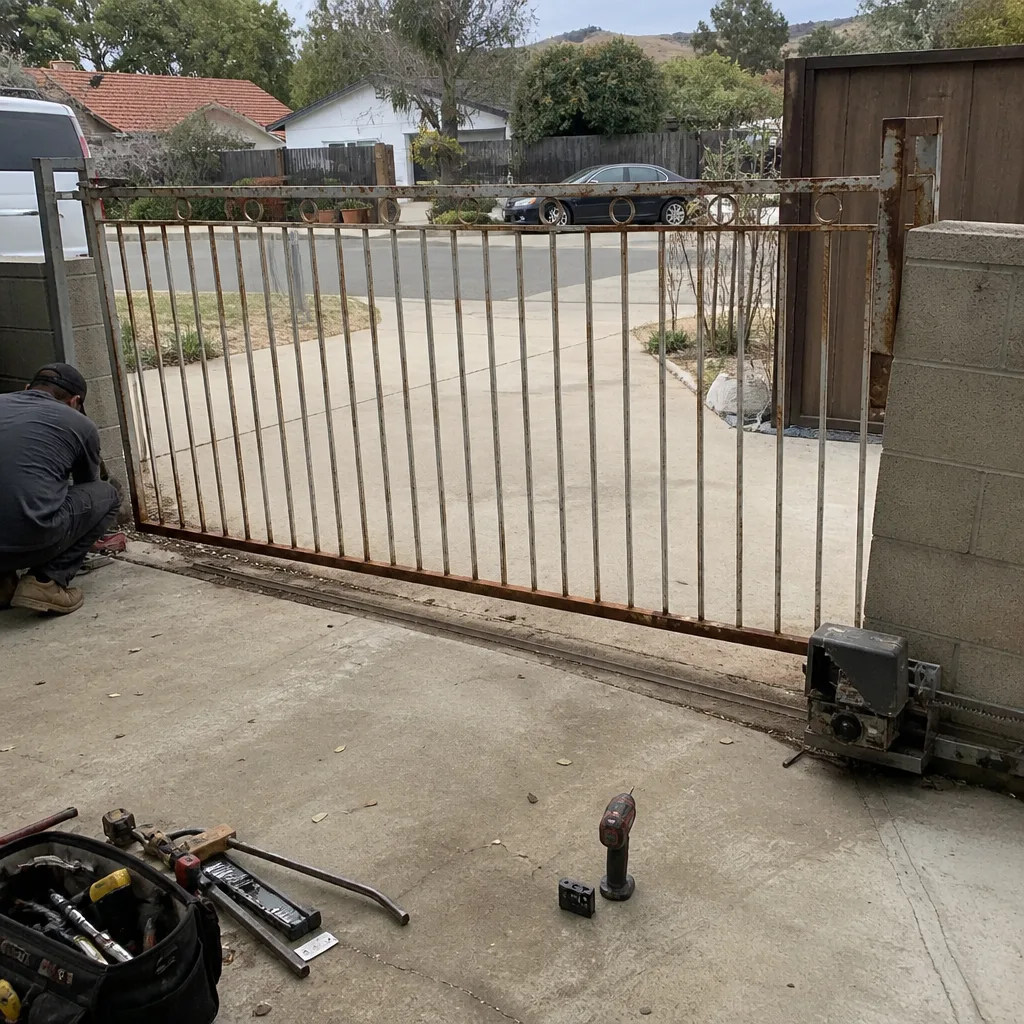
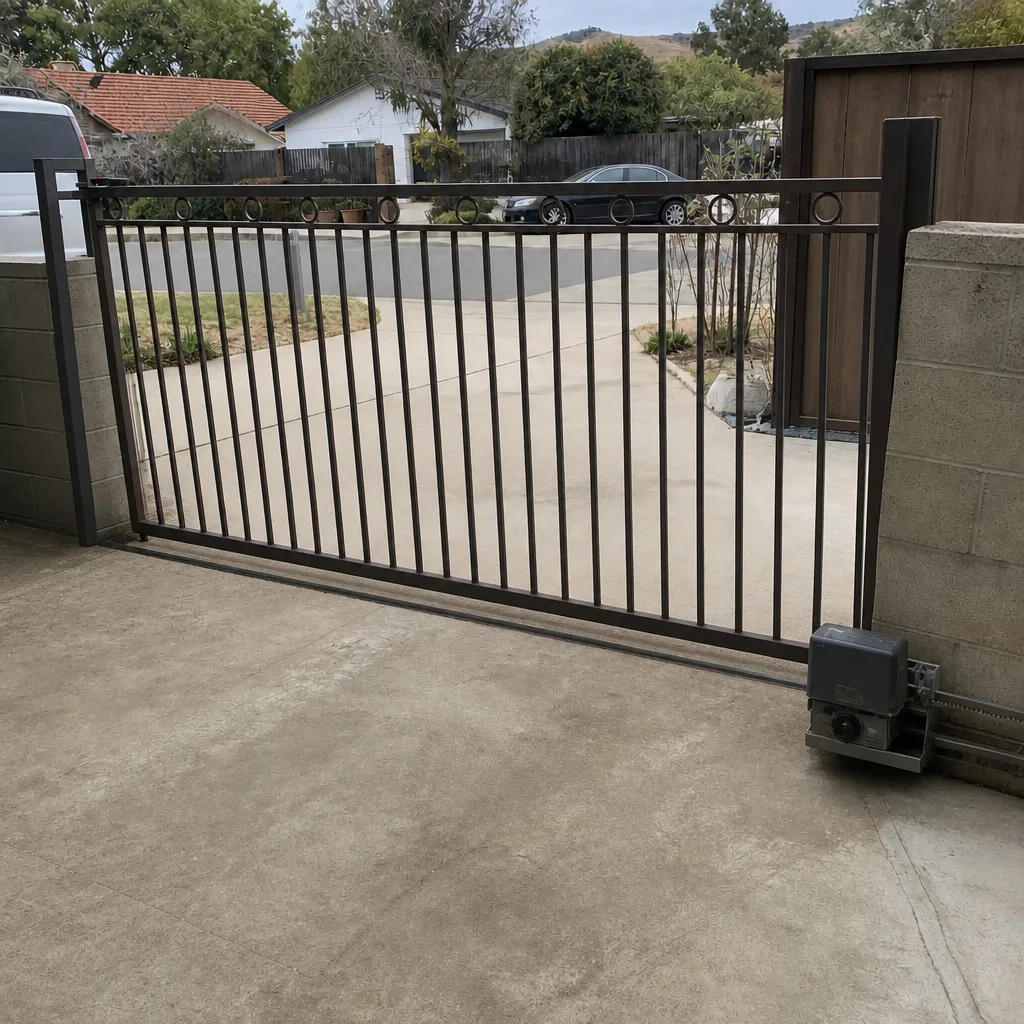
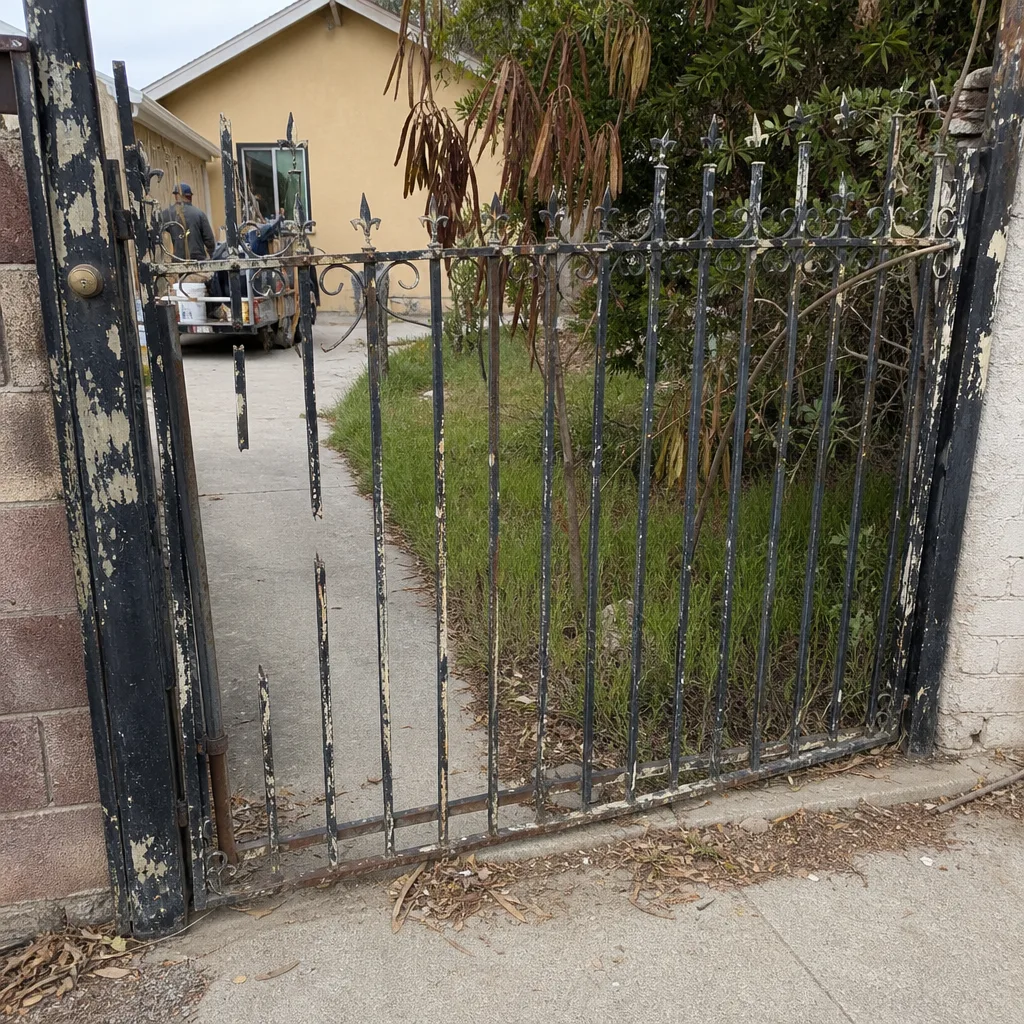
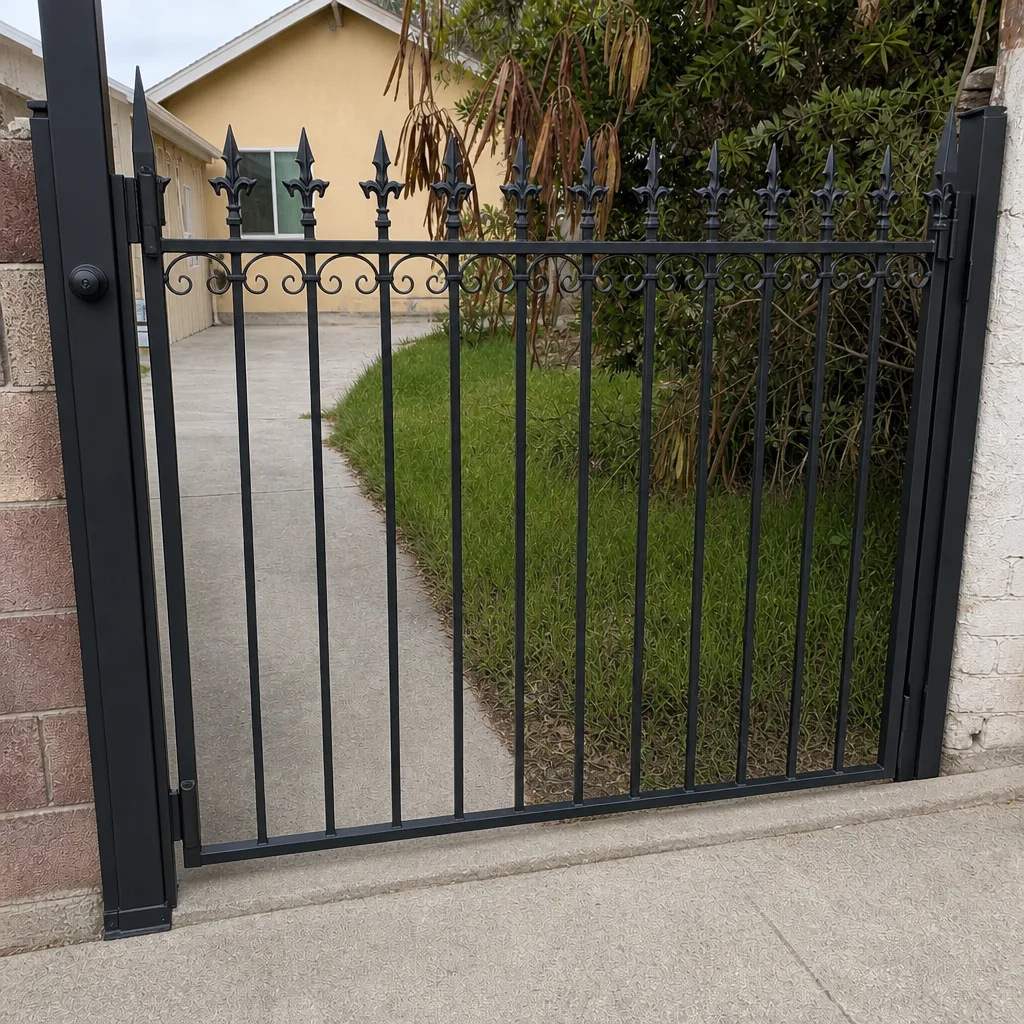
See the difference
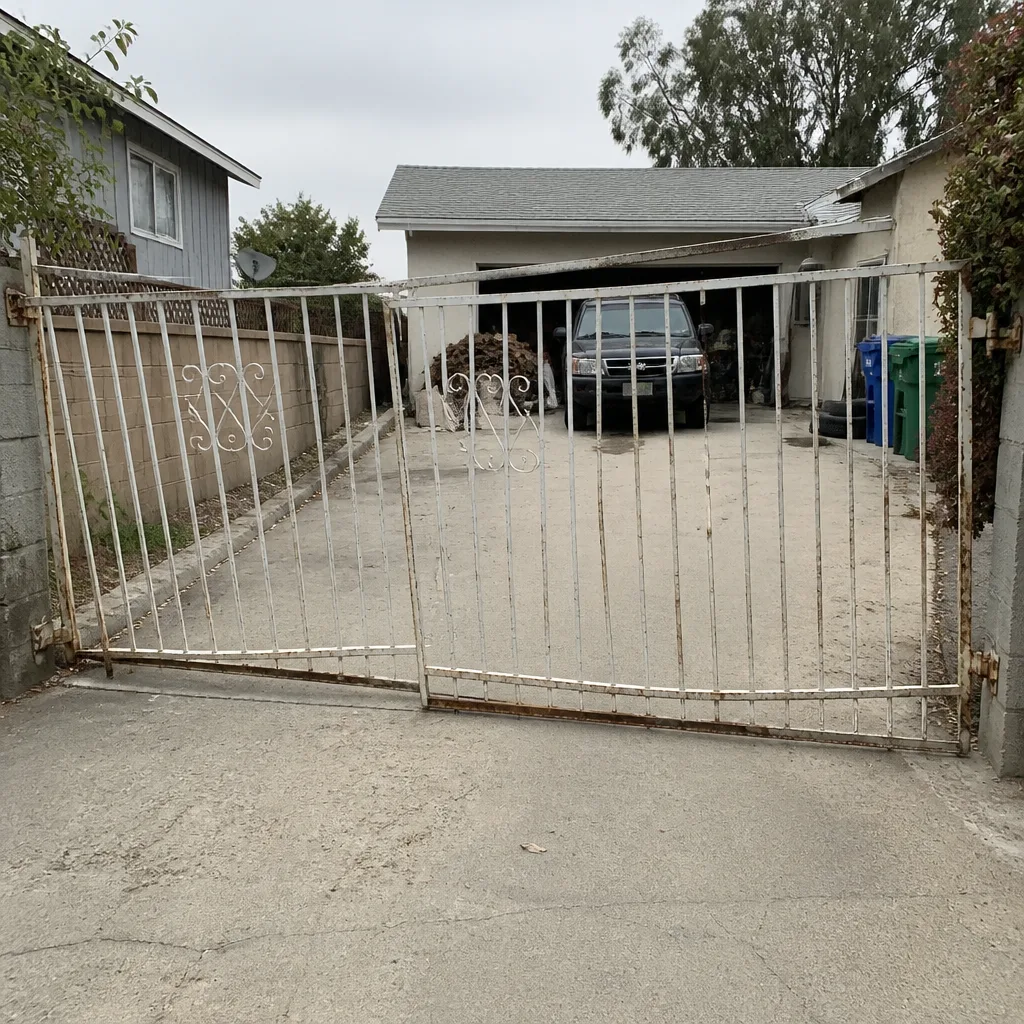 Before
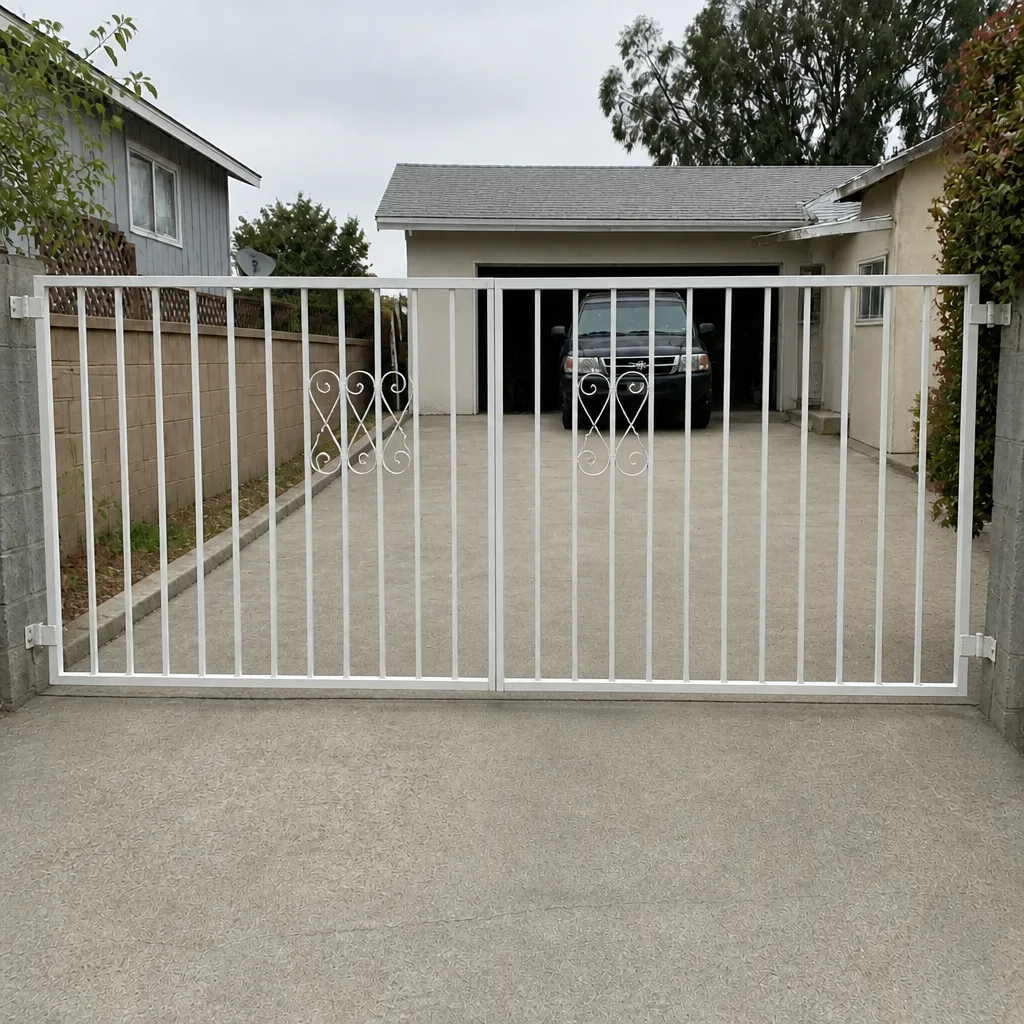 After
 Before
 After
 Before
 After
When to Call a Professional
Call a professional for anything involving the operator, the electrical supply to the gate, the safety systems, or a mechanical issue that’s already causing a change in how the gate moves. Specific triggers: the safety reverse fails the 6-month test, a post footing is loose or shifting, a hinge pin is worn enough to have play, the chain has slack beyond finger width, the operator is drawing more current than usual (a load test catch), or a frame weld has cracked. Those are the situations where a gate specialist makes a difference, because the diagnosis comes from someone who looks at gates all day rather than a general contractor who occasionally does. Ventura Gate Repair offers free estimates in Ventura and offers the same diagnosis and repair services to homeowners, landlords, and commercial property managers. Call (833) 361-4971 to schedule an inspection. We answer 24/7. Fast dispatch from 7am to 7pm, Sunday through Friday.
Frequently Asked Questions
Grease gate hinges every 6 months for most residential gates, and every 3-4 months if the gate operates more than about 50 times a day. Use lithium grease on each pivot point, not spray oil. If you hear a squeak between scheduled greasings, apply the grease immediately rather than waiting for the calendar.
Test the safety reverse, photo eyes, and safety edge every 6 months. On a gate used heavily (a commercial property or an HOA gate), test every 30 days. A gate with a failed safety system should be taken out of service immediately until it’s repaired.
A professional annual inspection includes the operator load test, a measurement of motor current draw and travel time that reveals strain before burnout. It also covers the post footings, frame welds, operator enclosure seals, and ground-level hardware in a single pass. The load test is the part most homeowners can’t do, because it requires an electrical meter and the training to interpret the reading. Call (833) 361-4971 for a free estimate on an annual inspection in Ventura.
Yes. Ventura’s marine layer humidity drives faster corrosion on hinges and bottom-level hardware, so tighten the 30-day check during the wet months. Strong summer UV cracks the plastic and rubber parts, so inspect those every 6 months instead of annually. Santa Ana wind events can stall a gate by filling the track with debris, so run the 30-day check early after windy stretches.
You can measure chain tension yourself, but that’s where it should stop. Chain tension is set by the position of the operator and the idler sprocket, and that change affects the drive geometry. Adjusting it wrong can load the motor and shorten operator life. Measure the slack at the midpoint of the chain run. If it’s more than finger-width, call a technician.
Pricing is per job by a written estimate. The estimate is free, and the price is quoted and agreed before any work starts. Maintenance visits are priced by what the gate needs after an inspection, not by a flat rate. A clean, well-kept gate might need nothing. A neglected one might need hinge replacement, chain adjustment, and safety testing in the same visit. Call (833) 361-4971 for a free estimate. Estimates are free.
The Bottom Line
A gate lasts as long as its schedule lets it. The two tasks that matter most: grease the hinges every 6 months, and test the safety reverse every 6 months. Everything else falls into a 30-day rapid check, an annual deep inspection with the load test, and a seasonal list that accounts for Ventura’s humidity, UV, and wind. Build your schedule around your gate’s wear rate instead of the calendar, and you’ll catch failures at the cheap stage. When the gate moves differently, calls a technician before the fix gets bigger. That’s how a well-kept gate runs 12-15 years instead of 4.
For a free estimate on maintenance, repair, or a new operator install in Ventura, call Ventura Gate Repair at (833) 361-4971. We answer 24/7. Fast dispatch from 7am to 7pm, Sunday through Friday. Our technicians have up to 8 years of experience, and we work on LiftMaster, FAAC, BFT, Linear, Viking, Ghost Controls, DoorKing, Elite, and Mighty Mule systems, residential or commercial, automated or manual.
Written by the team at Ventura Gate Repair.