
Last updated November 15, 2026
 Wrought iron
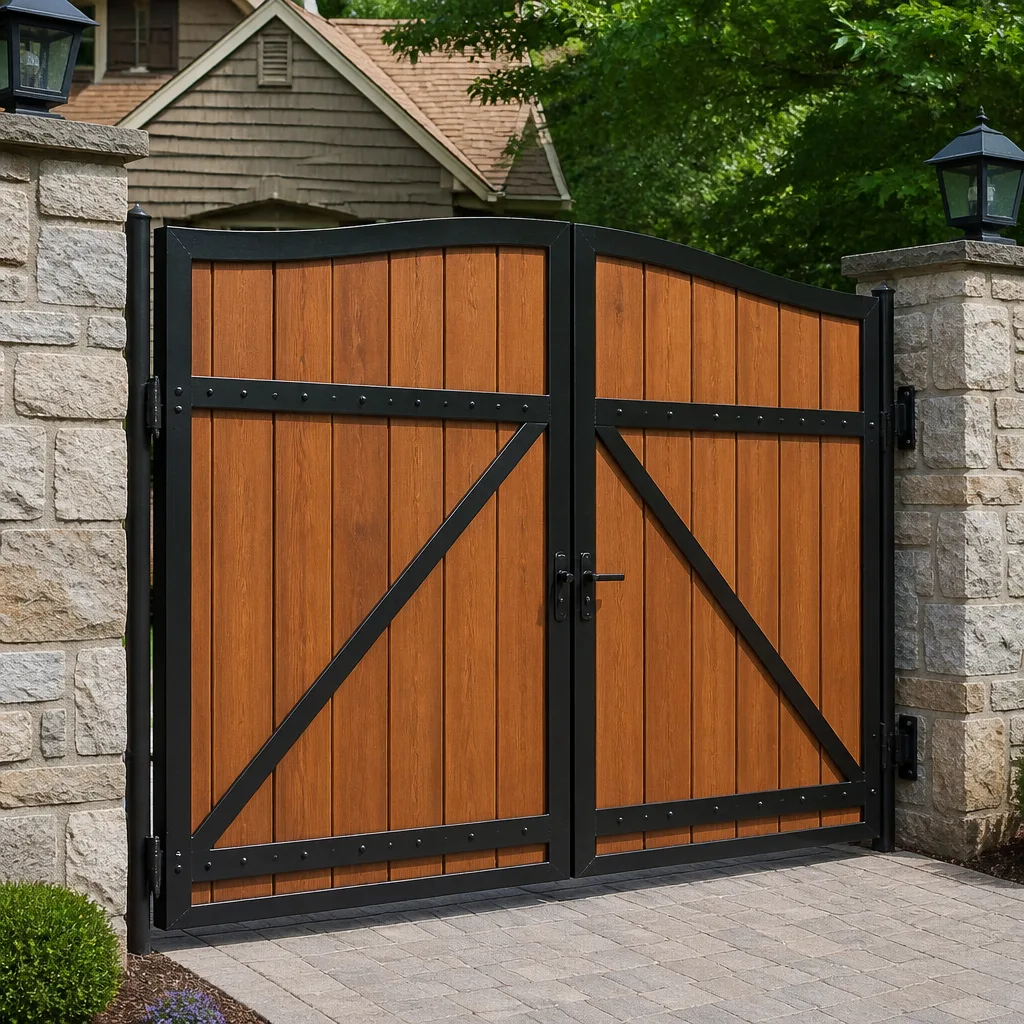 Wood & steel frame
 Farm & ranch
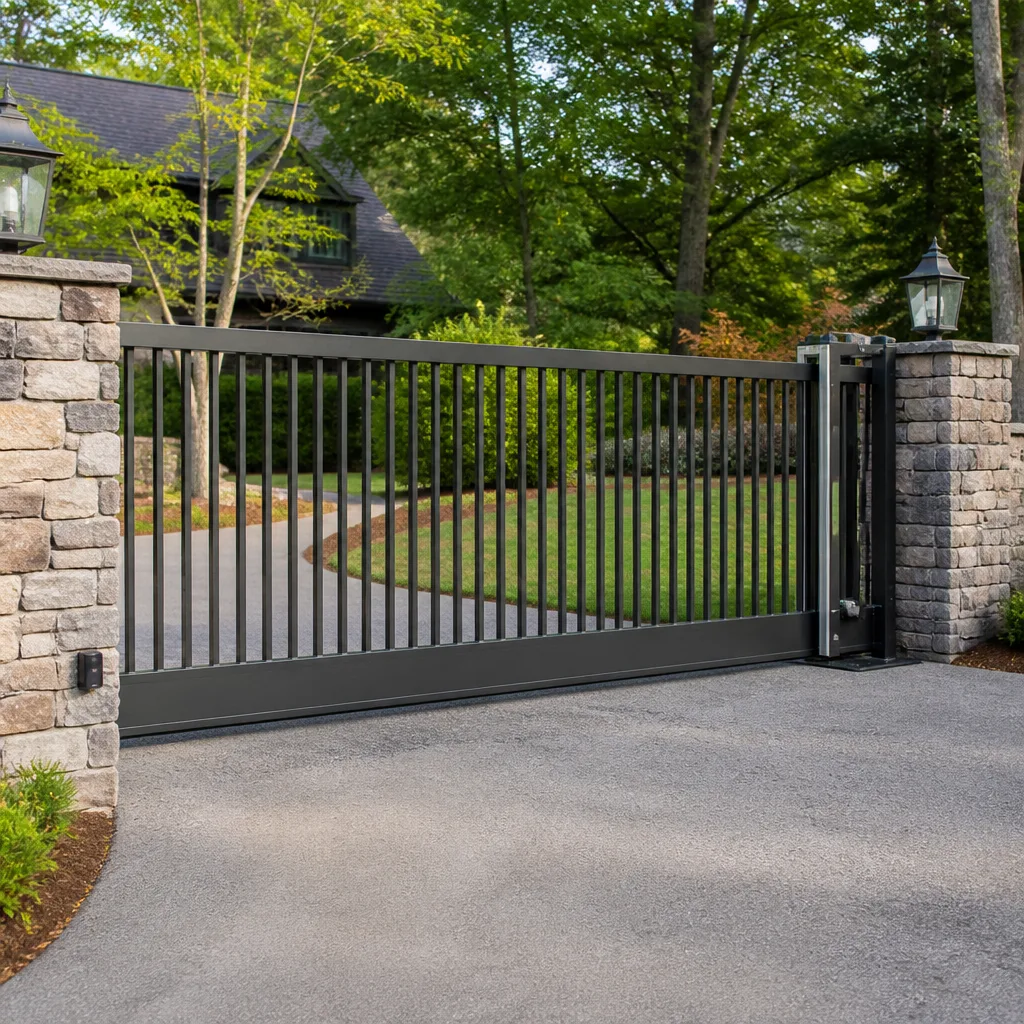 Sliding driveway gates
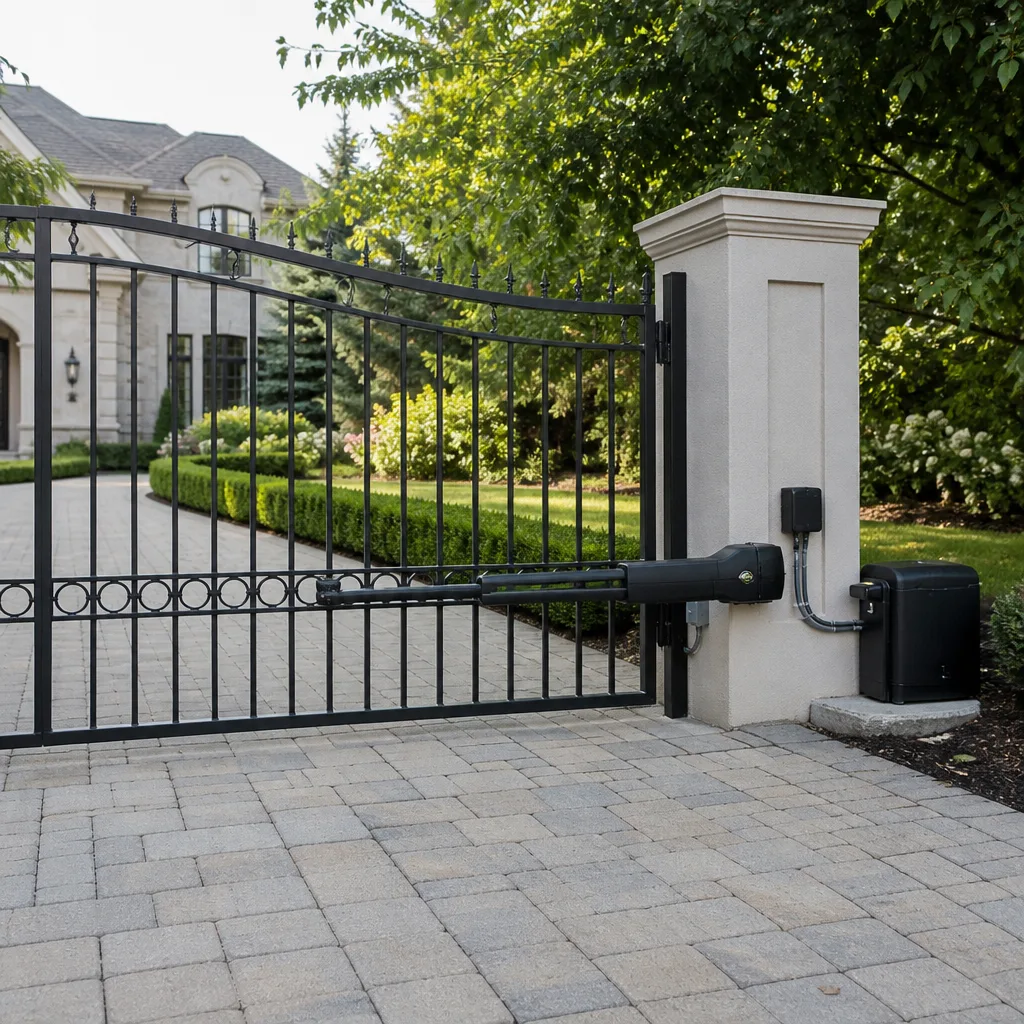 LiftMaster operators
Free on-site gate assessment - hinges, posts, and your LiftMaster or Nice gate operator checked before anything is quoted
The assessment is free and the quote is the invoice.
Get your free estimateGate Repair Troubleshooting in Ventura: Common Problems and How to Fix Them
Most people assume a gate that won’t open needs a new motor. In our experience, it usually doesn’t. The motor is often fine. What failed was a safety sensor knocked out of alignment, a receiver with a dead battery, or a limit switch that lost its reference point. The expensive part gets blamed while the simple part sits there causing the whole problem. That gap between what homeowners suspect and what’s actually wrong is where most repair bills get wasted. This guide gives you the framework we use on every call in Ventura: sort the fault into one of four categories, then work toward the specific component. You’ll learn how to triage before you touch anything, which resets are safe to try, and which symptoms mean stop and call.
Quick Answer
Most gate failures trace back to one of four root causes: power, mechanical, logic, or obstruction. To troubleshoot, first check whether the operator has power and the control board shows any fault code, then confirm the gate moves freely by hand with the operator disengaged, then check the safety sensors and remote battery. A gate that won’t start at all usually points to power or logic; a gate that stalls or reverses mid-travel usually points to obstruction or mechanical binding.
Styles & brands we work with
- Wrought iron
- Wood & steel frame
- Farm & ranch
- Sliding driveway gates
- LiftMaster operators
Table of Contents
- The Four-Category Triage Framework
- Gate Won’t Start at All: What It Points To
- Gate Stops Mid-Travel: What That Means
- Safety Sensors, Loops, and Obstruction Faults
- Reading Your Operator’s LED Fault Codes
- Limit Switches and Local Conditions
- Safe DIY Resets vs. Call-a-Pro Symptoms
- Common Mistakes to Avoid
The Four-Category Triage Framework
Before you touch a screwdriver, sort the problem. Every gate fault in Ventura falls into one of four buckets: power, mechanical, logic, or obstruction. Knowing the bucket narrows the component list from dozens down to a handful, and that’s the difference between ten minutes of diagnosis and an hour of guessing.
Here’s the order we run, and the order you should run too:
- Power. Is the operator receiving voltage? Is the breaker tripped? Is the low-voltage transformer outputting? Is the battery in the receiver or the backup system charged? No voltage means no diagnosis; fix power first.
- Mechanical. Disengage the operator and push the gate by hand. It should swing or slide with modest effort. If it binds, drags, or grinds, the problem is physical – hinges, rollers, track, or a bent frame – and no motor adjustment will fix it.
- Logic. If power and mechanical are both healthy, the control board is making the decision to open or not. This is where fault codes, limit settings, and board health come in.
- Obstruction. Safety sensors, photo eyes, safety loops, and edge sensors can all tell a perfectly good operator to stay put. A clean sensor circuit is as essential as power.
Run these in order. Nine times out of ten you’ll find the category in the first two steps. If you get to logic and the board is showing codes you don’t recognize, that’s the point where an electric gate repair visit saves money – a specialist reads those codes the way a mechanic reads a check-engine light.
Gate Won’t Start at All: What It Points To
A gate that won’t start at all is almost never a mechanical problem. If the arm, motor, or chain never engages, the operator never received the command. That narrows you to power, logic, or obstruction before you even open the control box.
Work through this checklist before calling anyone:
- The remote. Dead battery is the single most common cause of “nothing happens.” Test with a second remote; if only one fails, it’s the battery or the pairing.
- The wall control. If the wall button opens the gate but the remote doesn’t, the receiver or the remote is the problem. If neither works, the issue is at the operator.
- The breaker and transformer. Confirm the circuit breaker is on and the transformer is outputting. Many residential operators use a plug-in transformer that can work loose or fail silently.
- The safety sensors. A single blocked photo eye will stop an operator from responding to any command, including wall controls. Clean the lenses and line them up.
- The control board LEDs. If the board has power but shows no status light or cycles oddly, you’ve likely found the failing component.
On brands like LiftMaster and Elite, the receiver sits on the control board itself, so a failed receiver can look exactly like a dead remote. That’s the point where swapping a battery won’t help. If your wall control works but no remote will pair, the board’s receiver circuit needs attention.
Gate Stops Mid-Travel: What That Means
A gate that starts, moves partway, and stops or reverses points to a completely different set of components than a gate that never starts. Mid-travel faults are obstruction or limit-switch faults the vast majority of the time. The operator recognized a problem and stopped – that’s the safety system doing its job.
Common mid-travel symptoms and what they suggest:
- Reverses immediately after starting: almost always a safety sensor or a safety loop. On slide gates with loop detectors, a disturbed loop in the driveway will do this.
- Stops at the same spot every time: limit switch or travel calibration. The operator thinks it reached the end position.
- Stops at random points: mechanical binding, a loose hinge, or a chain/screw drive losing grip.
- Stops and the operator hums: the motor is trying to move but the gate is stuck – mechanical, not logic.
- Opens but won’t close: a sensor or loop on the closing side is triggered, or an edge sensor has shorted.
Notice that where the gate stops tells you which category you’re in. Consistent stopping point means the operator’s logic thinks travel is done. Random stopping means the physical gate fought back. Immediate reversal means something told the operator it isn’t safe. Sort those three and you’ve already cut the diagnosis in half.
Safety Sensors, Loops, and Obstruction Faults
Safety sensors cause more service calls than any other component on a modern gate. They’re also the easiest to test. When a photo eye sensor or a safety loop is obstructed, misaligned, or dirty, the operator will refuse to close the gate, or it will refuse to move at all depending on the model.
Here’s how to check the safety circuit on a residential swing or slide gate:
- Locate the photo eye pair. They’re mounted low on either side of the gate opening, usually facing each other across the driveway.
- Wipe both lenses with a clean cloth. Dust, cobwebs, and garden debris block infrared light as effectively as a hand.
- Check the alignment indicator LED on the receiving eye. On most brands – LiftMaster, Elite, FAAC – the receiving eye has a small LED that stays solid when it sees its partner clearly.
- Inspect the wiring at the terminals. Loose terminal screws on the sensor wiring will cause intermittent faults that look like alignment problems.
- For slide gates, look at the driveway safety loops. A cracked loop, a loop that shifted under fresh paving, or a failed loop detector will trigger the gate to stay open.
Most safety sensor issues are alignment or dirt. Some are wiring. A few are failed sensors that need replacing. If the receiving LED won’t go solid no matter how carefully you align it, or if wiring check passes and the LED still flickers, that sensor has failed. We work on your brand, so on a FAAC or a Mighty Mule the sensor check is the same handful of steps.
A word of caution: safety sensors exist to prevent the gate from closing on a person, vehicle, or child. Never bypass, disconnect, or “temporarily” jumper a safety sensor to make a gate close. If the sensor is failing, fix or replace it. This is a life-safety component, not a convenience feature.
Reading Your Operator’s LED Fault Codes
Most homeowners don’t know their gate operator has diagnostics built in. The control board on almost every modern operator – LiftMaster, FAAC, Elite, DoorKing, and others – shows fault codes through small LEDs or a display. Those codes tell you exactly what the board thinks went wrong. Learning to read them is the single most useful troubleshooting skill you can build.
Where to look:
- Residential operators (LiftMaster, Mighty Mule, Elite, Ghost Controls): the control board sits under the operator cover and usually has a set of LEDs. Some flash a pattern; some use color. The manual’s troubleshooting page maps each flash count to a fault.
- Commercial operators (FAAC, BFT, DoorKing): the board often has a small display that shows a code. A two- or three-digit code typically points to a specific fault – obstruction, limit, motor, encoder, or input problem.
- Older operators: the board may only have an “open” LED and a “close” LED. If both are dark with power applied, the board has failed.
The trick is that a fault code describes the symptom the board detected, not always the component that failed. An obstruction fault can mean a genuine obstruction, a bad sensor, or a motor that’s drawing too much current. A limit fault can mean the limit switch, the wiring to it, or the board’s travel counter. Reading the code gets you into the right category fast; knowing which component inside that category is behind the code is where experience counts.
Find the code, look it up in the operator’s manual, and note the flash pattern. Write it down. If you do call a specialist, having the code ready shortens the diagnosis.
Limit Switches and Local Conditions
Limit switches tell the operator when the gate has reached full open or full closed. When they lose their adjustment, get dirty, or fail, the gate will over-travel, under-travel, or refuse to move. Limit switch failures are also one of the places where Ventura’s local environment quietly matters.
The heat and dry air in Ventura affect gates here differently than in cooler climates. Limit switch housings and terminal screws see temperature swings that loosen the small set screws holding limit cams in adjustment. Terminal screws at the limit switch wiring back out slowly, creating intermittent electrical contact. A gate starts doing strange things only on certain afternoons. Months later, it stops working altogether. Nothing rusted. Nothing was hit. What happened is the small hardware under the cover worked loose.
Dust and yard debris compound the problem. Ventura winds during certain parts of the year push dust into the limit switch housing. That dust holds onto the small contact surfaces, and the switch starts to fail intermittently before it fails completely. If you have landscaping right next to the gate, you have more limit switch calls than a gate with clear sightlines.
What to check on the limit switch side:
- Visual condition. Open the operator cover and look at the limit switch assembly. Cracked or loose housings, backed-out screws, or debris inside is a red flag.
- Manual movement. With power off and the operator disengaged, physically move the gate through its full swing or slide. If the limit cams don’t trip cleanly, they need adjustment.
- Terminal tightness. With the power off, check that the terminal screws at the limit switch wiring are snug. Loose screws cause more intermittent faults than failed switches.
- LED response. With power restored, the limit LEDs on the control board should change state at the correct travel points. If one never changes, either the switch or the wiring has failed.
Limit switch adjustment on a working operator is a small job. Limit switch adjustment on an operator that also has a failing control board is a bigger one. If you’ve adjusted the limits twice and the gate still over-travels, the board is the next suspect – and that’s worth a specialist’s read.
Safe DIY Resets vs. Call-a-Pro Symptoms
Some faults reset cleanly. Some don’t. Knowing the difference saves you time and, in a few cases, keeps you out of a bad spot.
Safe to try yourself:
- Changing the remote battery and re-pairing the remote.
- Cleaning and re-aligning photo eye sensors.
- Clearing debris from the gate path, the track, or the swing arc.
- Power-cycling the operator by turning off the breaker for a minute, then back on. Some operators will re-learn travel on power-up.
- Checking the breaker and the transformer output with a multimeter.
- Reading fault codes and writing them down.
Call a professional:
- The control board shows a fault code you can’t clear, or the board cycles without any input.
- The gate moves on its own, opens and closes repeatedly, or stops mid-travel without an obstruction.
- The motor hums but the gate doesn’t move and the mechanical path is clear.
- You’ve re-aligned sensors successfully and the gate still refuses to close.
- Any fault that requires you to open the operator housing, test live voltage, or adjust limit switches inside the casing.
- The gate has started moving when it shouldn’t – a runaway gate is a serious safety problem, and we treat it as same-day priority.
An electric gate operator runs at higher current than most homeowners expect, and the control board stores voltage after the breaker is off. Respect that. If a job requires opening the housing and touching anything, ask us. Same-day service is often available for gate failures; gate repair calls are the bulk of what we do in Ventura.
Why Ventura Gates Fail in Ways Other Guides Don’t Mention
Most troubleshooting guides assume a gate that lives in a mild, dust-free climate with stable temperature. Ventura’s gates don’t. They live in a climate that runs warm and dry through late summer, then cools down into coastal spring mornings, and they sit under dust from landscaping, road work, and the occasional Santa Ana wind event. That combination creates specific failure patterns.
The biggest pattern we see in Ventura is intermittent electrical faults caused by loose terminal screws and shifting hardware. Heat expands and contracts the small metal parts inside operators and sensors. Tiny screws that hold the limit cams, the sensor alignment, and the terminal wires back themselves out over months. Everything works. Then one afternoon a fault appears for a moment and disappears. It happens again a week later. The gate finally quits a few months after that. Nothing dramatic happened – small hardware worked loose.
Dust is the second local factor. Gates on lots with mature landscaping or gravel drives take on dust through the operator housing and into the photo eye lenses. Those gates need sensor cleaning more often than gates on clean concrete, and the receivers fail faster because dust holds heat inside the housing.
This is also why guessing costs more in Ventura than elsewhere. A gate in a stable climate might fail the same way for twenty years. A gate here fails through a dozen small, intermittent faults, and diagnosing them requires reading patterns instead of just checking the obvious. That’s where gate-only specialization matters – a specialist recognizes these small-signal failure patterns because they see them all the time, and a generalist might chase the same symptom three visits in a row. If you want a specialist who knows Ventura gates specifically, that’s what we do.
See the difference
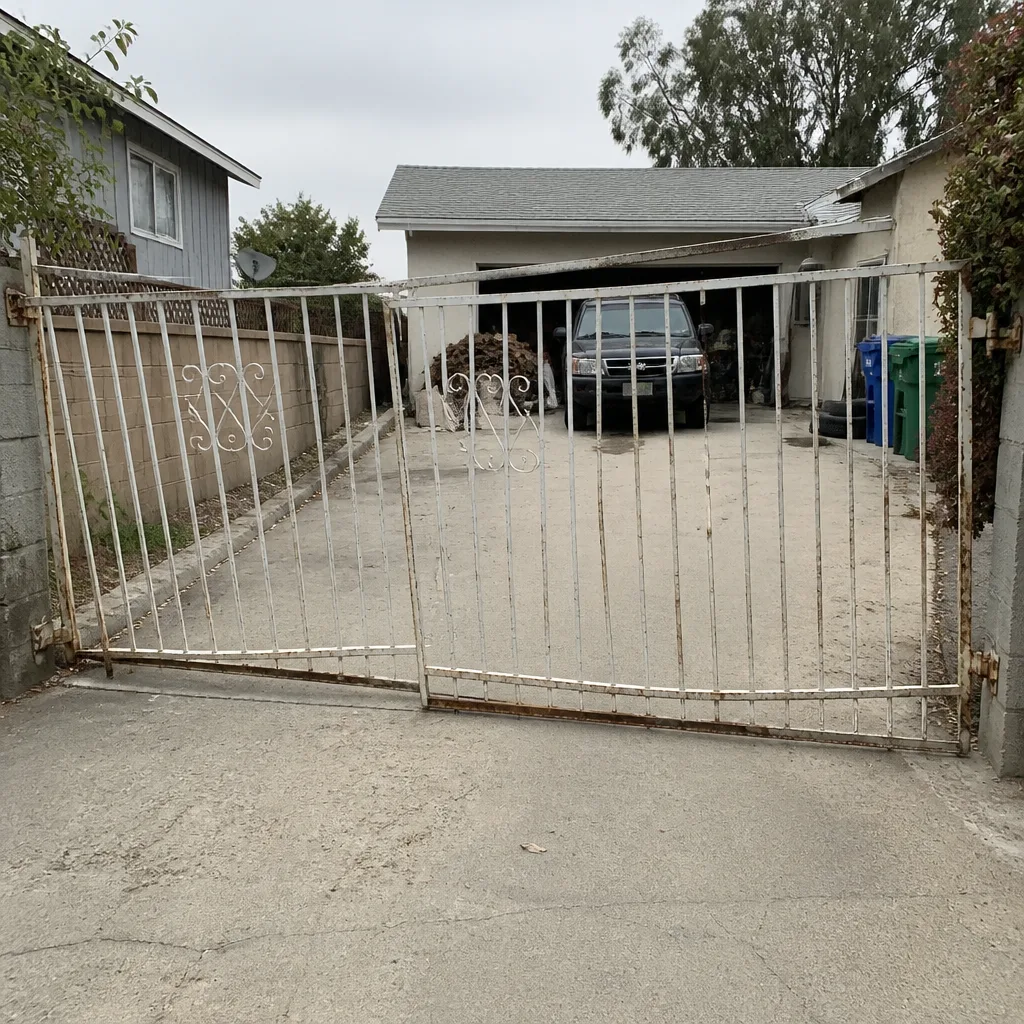 Before
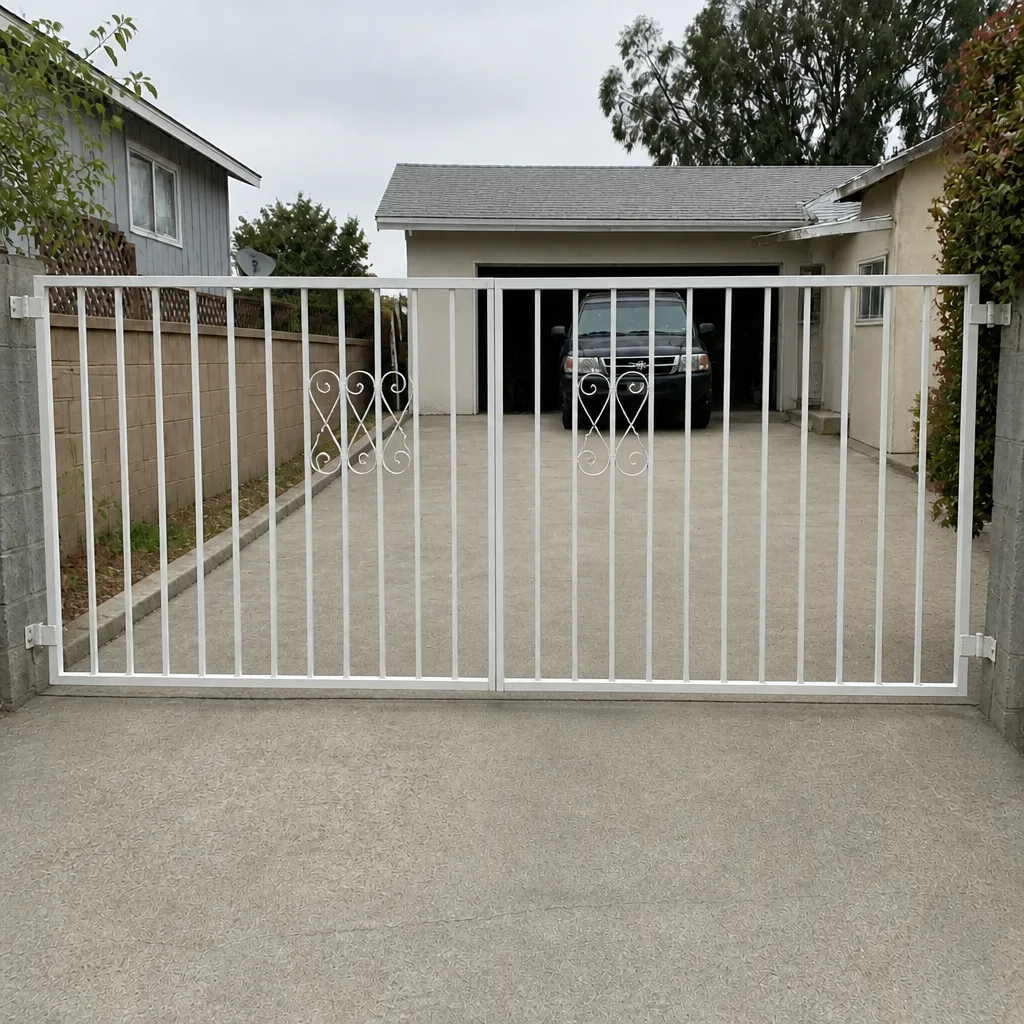 After
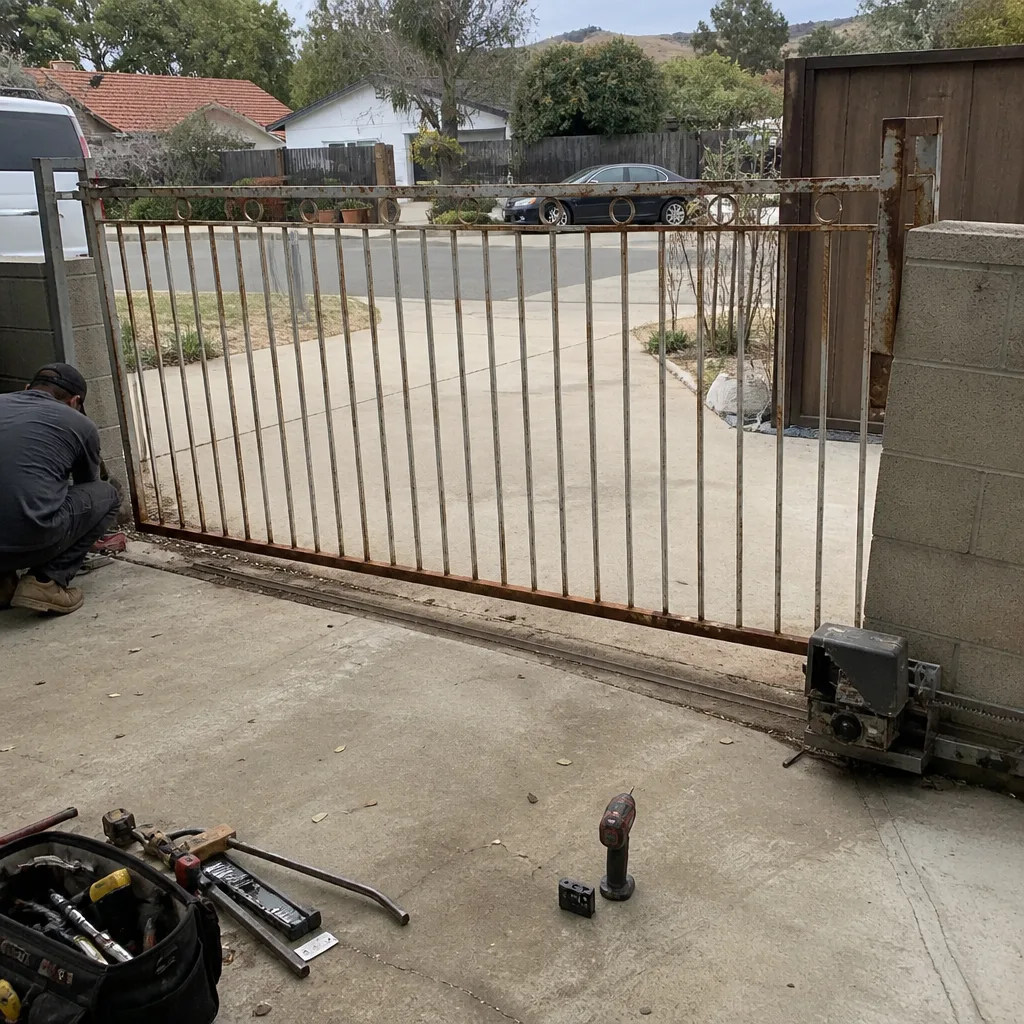 Before
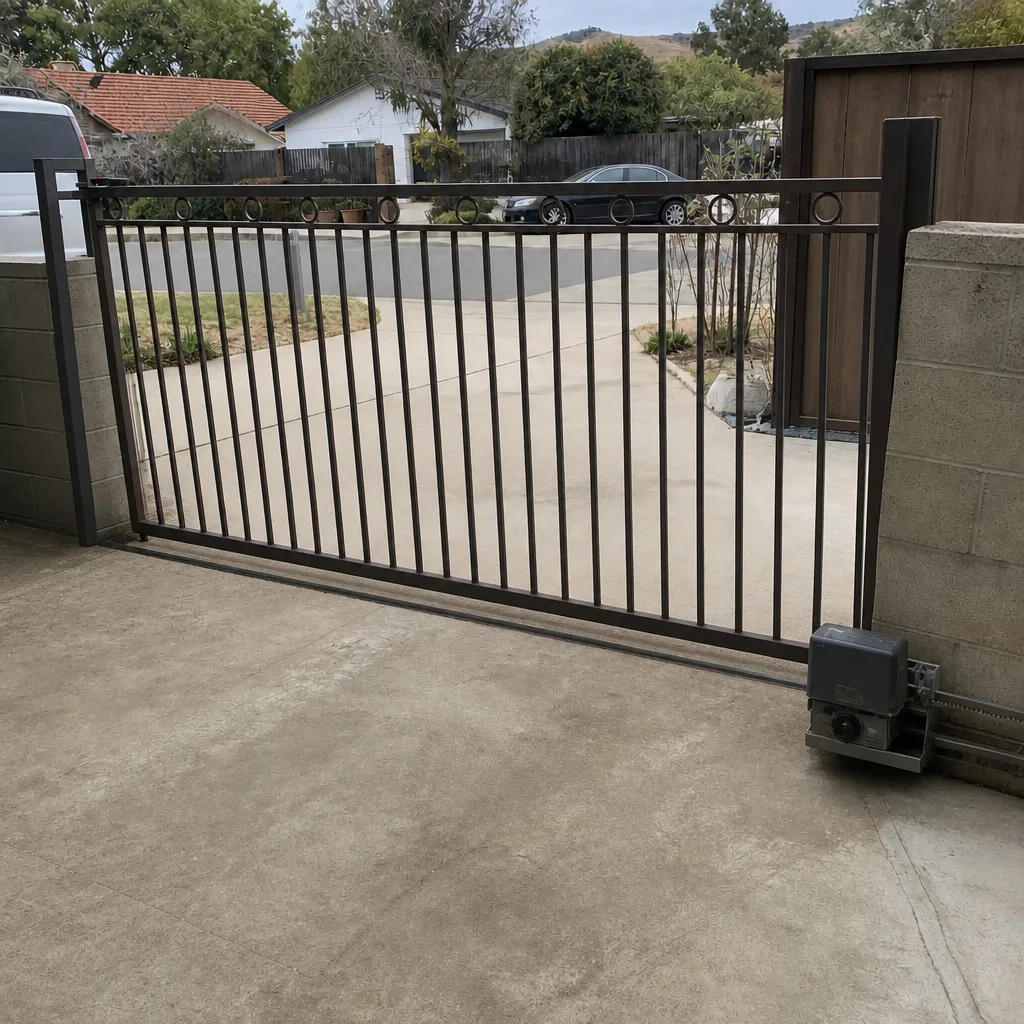 After
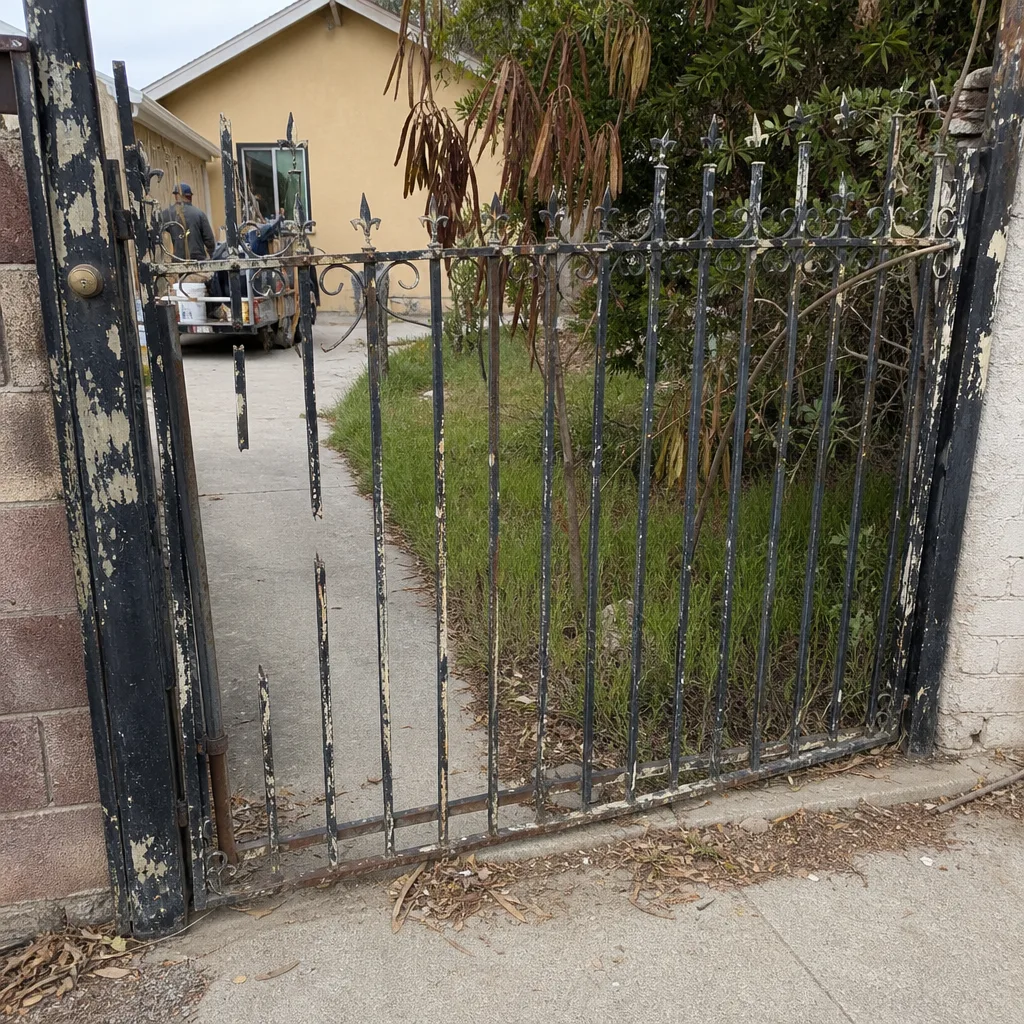 Before
 After
Common Mistakes to Avoid
- Bypassing a safety sensor to make the gate close. Never jumper, disconnect, or tape over a photo eye or safety loop. The operator is designed to fail safe; overriding that defeats the entire safety system. This is the mistake most likely to cause injury.
- Replacing the motor before testing power and mechanical. Motors rarely fail outright. A dead remote battery, a tripped breaker, or a binding hinge can look exactly like a dead motor and cost ten times as much to misdiagnose.
- Ignoring an intermittent fault. That gate that “forgot to close yesterday” is telling you a terminal screw is backing out or a sensor lens is dirty. Catching it now is a small job; catching it after it strands you is a bigger one.
- Adjusting limit switches without powering off first. The control board stores voltage. Power off at the breaker before you touch anything inside the operator housing, and confirm with a meter.
- Assuming a mid-travel stop means a bad board. Nine times out of ten a mid-travel stop is an obstruction, a safety loop issue, or a mechanical binding. Confirm the easy categories before you assume the expensive one.
- Using off-brand remotes and pairing adapters. Cheap third-party remotes often don’t hold their pairing. If your gate is a LiftMaster, FAAC, Elite, or Mighty Mule, use factory or factory-compatible remotes or you’ll chase a phantom receiver problem.
- Calling a generalist first. A contractor who services gates occasionally will chase the same fault twice. A gate specialist reads the fault code, matches it to the brand, and diagnoses in one visit.
When to Call a Professional
Call a professional the moment a fault moves past the safe-DIY list above. That means: the control board is showing codes you can’t clear, the gate is moving on its own or reversing without an obstruction, the motor hums but nothing moves, you’ve cleaned and aligned the sensors and the gate still won’t close, or any fault that requires opening the operator housing or testing live voltage. It also means any failure on a commercial system, an HOA gate, or a slide gate with safety loops under the driveway – those setups carry heavier panels, higher voltages, and more complex safety chains than most homeowners realize. Heavy panels and slide gates that come off their track are genuinely dangerous, and the operator’s wiring and power carry real risk. Ventura Gate Repair offers free estimates in Ventura – call (833) 361-4971. We answer 24/7. Fast dispatch from 7am to 7pm, Sunday through Friday. Our technicians have up to 8 years of experience, and every job we run starts with a written estimate before we touch the gate.
Frequently Asked Questions
A dead remote battery or a misaligned safety sensor is the most likely cause of a gate that won’t open, followed by a tripped breaker or a failed transformer. In our experience, 80% of “my gate won’t open” calls trace to one of those two causes, both of which you can check in minutes. Test a second remote; if it works, the battery or pairing is the issue. If no remote works but the wall control does, the receiver or board needs a look. Call (833) 361-4971 for an exact diagnosis – estimates are free.
You can safely power-cycle most operators by turning the breaker off for a minute and back on, and you can clean and re-align safety sensors yourself. That’s it for safe DIY resets. Anything that requires opening the operator housing, adjusting limit switches, or testing live voltage goes to a technician – the control board stores voltage after the breaker is off and the small terminals are easy to damage. We answer 24/7; call (833) 361-4971.
A gate that stops partway and reverses is almost always responding to an obstruction signal – a blocked photo eye, a disturbed safety loop in the driveway, or a mechanical binding on the gate path. Consistent stopping at the same point suggests a limit switch or travel setting; random stopping suggests mechanical drag. If a professional check finds nothing in either category, the control board is the next suspect. Call (833) 361-4971 for a same-day look – estimates are free.
The flashing LEDs or display on your control board map to specific faults – obstruction, limit, motor, encoder, or input problems – and the operator’s manual has the full code table. LiftMaster, FAAC, Elite, and DoorKing operators all use fault codes; some flash a pattern, some show a two- or three-digit number. Note the code before you call, and it shortens the diagnosis. Call (833) 361-4971 if you’d rather have us read it.
We work on equipment from LiftMaster, FAAC, BFT, Linear, Viking, Ghost Controls, DoorKing, Elite, and Mighty Mule, across residential, commercial, and HOA-grade systems. That covers both the residential operators most homeowners have and the heavier commercial ones on shared driveways and apartment entries. If you’re not sure which brand you have, the model plate on the operator cover usually has it. Call (833) 361-4971 for an exact quote.
We handle both – emergency repair today and full new gate installation when you’re ready to replace or upgrade, so you don’t need a second company when the repair stops making sense. Installation is measured, ordered, and scheduled rather than same-day, and you get a free written estimate before any work starts. Whether you have a Mighty Mule residential swing gate or a FAAC commercial slide gate, the process starts the same way. Call (833) 361-4971 for a free estimate.
The Bottom Line
Gate troubleshooting in Ventura comes down to sorting the fault before touching anything. Power, mechanical, logic, obstruction – in that order. That single habit gets you past the remote-battery, tripped-breaker, and dirty-sensor problems yourself, and gets you to the control board and limit switch problems fast enough to book a specialist before the gate strands you. Watch for the small intermittent faults that Ventura’s heat and dry air produce – backed-out terminal screws and dust-loaded sensors cause most of the “it works, then it doesn’t” complaints we see. Respect the safety sensors. And when a fault moves past a breaker reset or a re-aligned photo eye, call a gate specialist instead of guessing. Ventura Gate Repair is gate-only, working on the brands you actually own, with free estimates and written pricing before any work starts.
Ready to get back in service fast? Call (833) 361-4971 for a free estimate. We answer 24/7. Fast dispatch from 7am to 7pm, Sunday through Friday.
Written by the team at Ventura Gate Repair.