
Last updated November 15, 2026
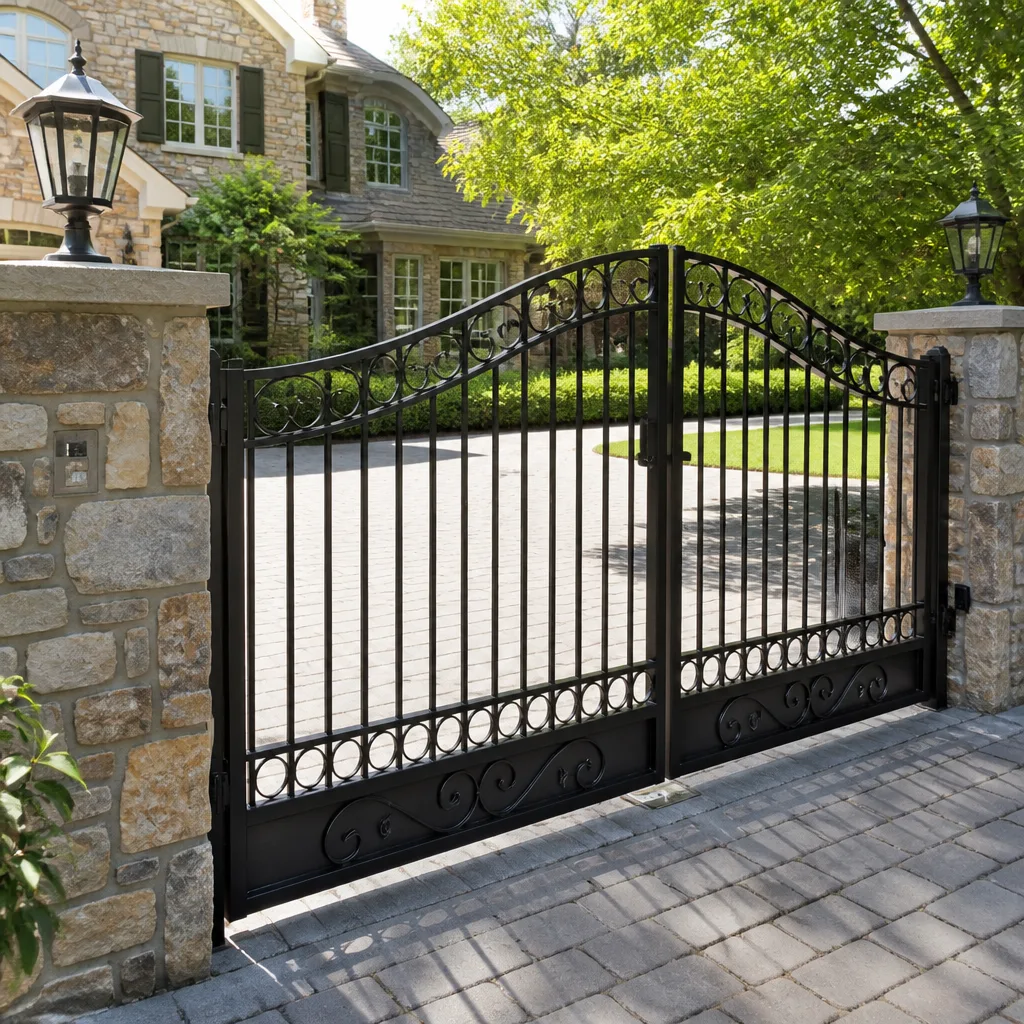 Wrought iron
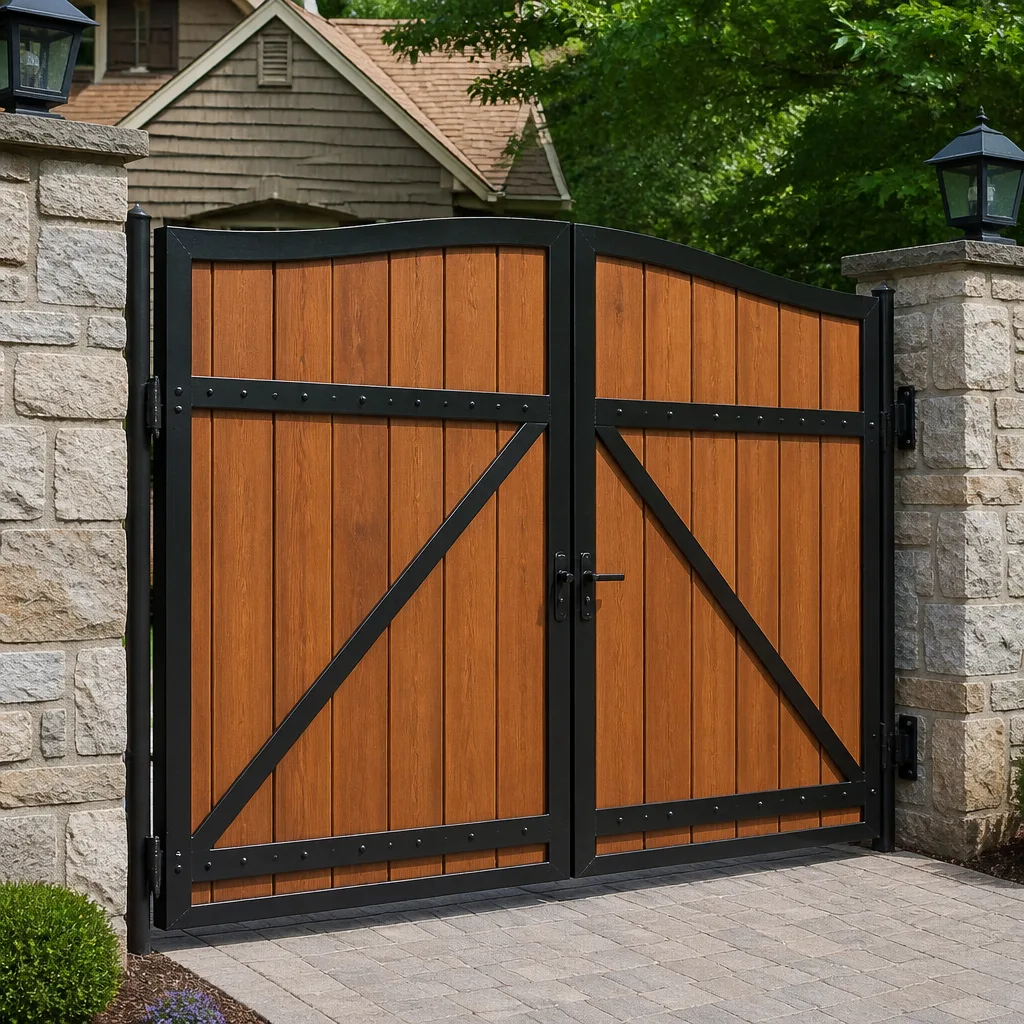 Wood & steel frame
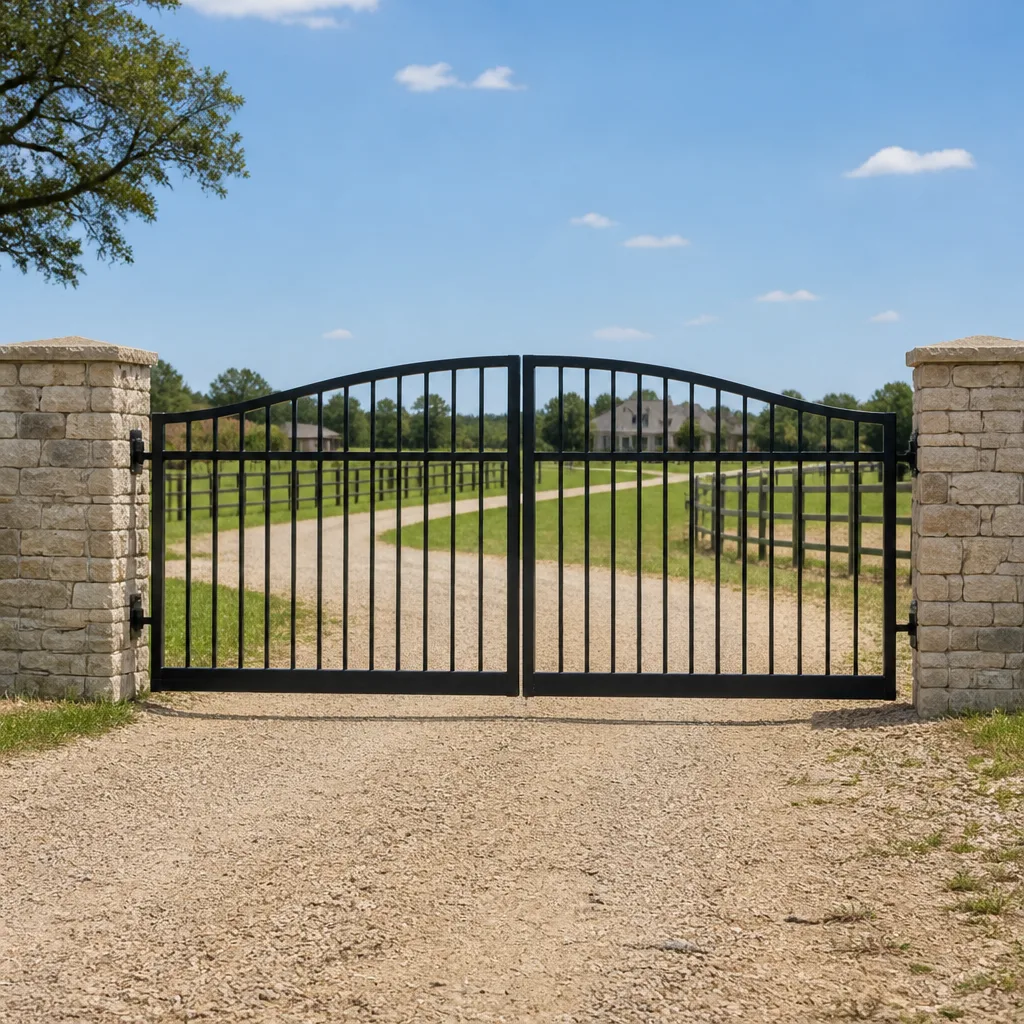 Farm & ranch
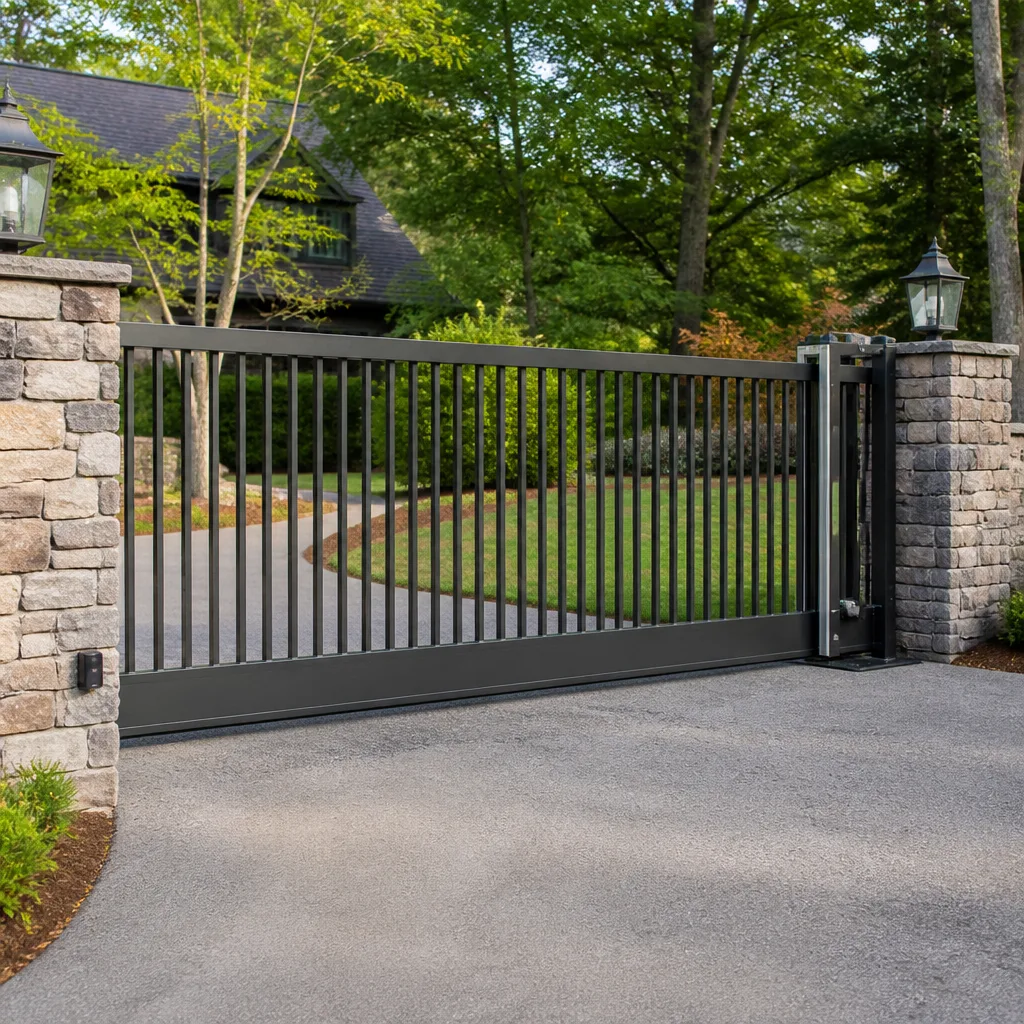 Sliding driveway gates
 LiftMaster operators
Free on-site gate assessment - hinges, posts, and your LiftMaster or Nice gate operator checked before anything is quoted
The assessment is free and the quote is the invoice.
Get your free estimateGate Repair Maintenance Checklist for Ventura Homeowners
Lubricating a gate hinge once a year is the advice you’ll find on almost every home maintenance list. It’s also the reason so many gates in Ventura start grinding, sticking, and sagging long before their hardware should be worn out. A yearly interval was written for a mild, average climate. It doesn’t account for the marine layer that rolls through the hills and valleys here, or the hot, dry Santa Ana winds that strip lubrication off a track in a single week. The result is a gate that fails early to problems that a properly timed checklist would have caught. What follows is a task-by-task maintenance schedule calibrated to what actually fails in Ventura, not what fails in Phoenix or Seattle. You’ll get real intervals, pass/fail tests for safety devices, and a clear line between what you can safely do yourself and what belongs with a specialist.
Quick Answer
A gate maintenance checklist for a Ventura home should run on a quarterly, biannual, and annual cadence – not a single annual pass. Quarterly, you clean and lubricate hinges, tracks, and the motor shaft and test your safety devices. Twice a year, you check the battery backup and inspect the control board enclosure. Once a year, you do a full structural and alignment check and tighten anchors. The marine layer and hot Santa Ana winds here accelerate wear on moving parts and electronics, so the short cycles matter more than the long ones.
Styles & brands we work with
- Wrought iron
- Wood & steel frame
- Farm & ranch
- Sliding driveway gates
- LiftMaster operators
Table of Contents
- Why Standard Maintenance Intervals Don’t Fit Ventura
- Quarterly Checklist: The Tasks That Keep Your Gate Moving
- How to Test Entrapment Protection and Loop Detectors Yourself
- Biannual Checklist: Battery Backup and Control Board Health
- Annual Checklist: Structure, Alignment, and Anchors
- Which Tasks Are Homeowner-Safe and Which Void a Warranty
- Power-Outage Season: Red Flag Wind Event Prep
- Manual vs. Electric Gates: What Changes
Why Standard Maintenance Intervals Don’t Fit Ventura
The generic advice to lubricate a gate hinge once every 12 months assumes steady, mild conditions. Ventura doesn’t offer steady conditions. A neighborhood up against the hills can spend much of the spring and early summer under a damp marine layer, where moisture settles on cold metal and sits there. Down the road a few miles inland, the same gate can bake under hot, dry Santa Ana conditions that pull lubricant off a track and dry out seals. One gate can see both patterns in a single year. That swing is why a hinge that would last a year elsewhere can seize in a matter of months here.
This is the gap a standard checklist leaves open. Hardware on a gate in Ventura wears on an accelerated curve that doesn’t match the calendar everyone else uses. Two things follow from that:
- Moving parts need shorter, more frequent service. Hinge pins, the motor shaft, rollers, and the track itself collect moisture and grit faster here, so a three- to four-month lubrication cycle holds up where a yearly one doesn’t.
- Electronics need enclosure checks more often. A control board in an unventilated box is exposed to the same damp air drawn in around the enclosure. A board that would be fine for years in a dry climate can develop corrosion on its terminals here if the box isn’t breathing and sealed properly.
The climate also shapes which operator brands hold up best in different spots, and that shapes maintenance too. A residential system like a Ghost Controls or Mighty Mule operator on a light driveway gate asks for different upkeep than a Viking or Linear operator on a heavier setup, and a commercial-grade FAAC or BFT unit on an HOA-grade gate asks for more again. The checklist below is organized so you can apply the right cycle to whatever you’re running. If you’d rather have a gate-only specialist walk the whole thing with you, we cover every one of these systems under one roof at Ventura Gate Repair.
Quarterly Checklist: The Tasks That Keep Your Gate Moving
This is the core of the schedule. In Ventura, the quarterly pass is what actually protects the hardware and the motor, and it’s the one most homeowners skip. Set a reminder every three months and run through these items in order. It should take you less than an hour on a swing gate and a little longer on a slide gate with a track.
- Walk the full swing or slide path. Open and close the gate by hand – with the operator disengaged – and listen. Grinding, squealing, a catch mid-travel, or a gate that binds at one spot all point to a hinge, roller, or alignment problem that’s cheaper to fix now than after it wears the motor.
- Clean the track and rollers (slide gates) or the hinges (swing gates). Flush out grit, leaf litter, and dirt with a stiff brush. Grit left in a roller or hinge works like sandpaper on every cycle.
- Lubricate the hinge pins and the motor shaft. A light application of a gate-appropriate lubricant on the hinge pins, the motor shaft, and the operator’s pivot points keeps them moving freely. This is the single highest-value task on the list, and the one the yearly advice gets wrong here. Keep lubricant off the track itself on slide gates, where it attracts grit.
- Check the operator’s manual release. Confirm the keyed release works and the gate can be opened by hand in a power failure. If it’s stiff, that’s a sign to service it before you need it.
- Test the safety devices. Run the entrapment protection and loop detector tests in the next section. Do this every quarter, not once a year.
- Look at the control board enclosure. Open the box and check for moisture, insect nests, or corrosion on the terminals. A gasket that’s failed or a knock-out that’s open lets damp air in.
Do the lubrication on a cool morning rather than in the heat of the day, so the lubricant settles rather than flashing off, and so you’re not working on hot metal. If any test reveals a problem you can’t resolve, that’s a strong signal to bring in a specialist rather than keep cycling a gate with a fault – more on that further down.
How to Test Entrapment Protection and Loop Detectors Yourself
Entrapment protection is the part of your gate that stops it from closing on a person, a pet, or a vehicle. It’s also the part homeowners understand least, because most checklists just say “make sure it works.” A test with pass/fail criteria is far more useful. Here’s how to run both of the main safety systems on an automated gate, using the operator’s own manual for the exact procedure on your brand.
Testing the entrapment protection (the photo eye or edge sensor)
- Stand clear of the gate path and start a close cycle. Let the gate begin moving.
- Break the beam or press the safety edge. Step into the path of the photo eye, or press the sensing edge along the gate’s leading edge, while the gate is closing.
- Watch what the gate does. Pass: the gate stops and reverses immediately. Fail: the gate keeps closing, hesitates, or only stops without reversing. A fail means the safety device is misaligned, dirty, or faulty, and the gate should not be operated automatically until it’s fixed.
- Repeat while opening if your operator is set up to monitor the open cycle, then reset the gate.
Testing the loop detector (for driveway and exit loops)
- Drive a vehicle onto the loop and confirm the gate opens, or holds open, as designed.
- Confirm the gate stays open while the vehicle is on the loop, and that it doesn’t begin to close until the vehicle is clear. Pass: the gate reacts cleanly to the vehicle and holds. Fail: the gate closes on the vehicle, doesn’t detect it, or reacts intermittently.
- Note any false triggering – the gate opening with nobody there. That usually points to a damaged loop, moisture in the saw cut, or a sensitivity setting that needs adjustment.
A gate that fails any of these tests is a safety problem, not a nuisance, and heavy gate panels can cause serious injury. Don’t keep running it automatically while you wait to schedule a repair. This is squarely electric gate repair territory, and it’s worth having a gate-only technician look at it rather than a generalist who’ll guess at the sensor wiring. If you find a fail, call and we’ll get it diagnosed.
Biannual Checklist: Battery Backup and Control Board Health
Twice a year – spring and fall work well as anchors – step back from the moving parts and check the two systems that quietly decide whether your gate works when conditions get hard. These are the battery backup and the control board. Both are sensitive to the damp-dry swing that Ventura’s weather delivers, and both fail in ways that don’t announce themselves until you need them.
Battery backup health check
Most automated gate operators run a battery for backup power, and a battery that’s quietly degraded will fail the first time you actually need it. Run this check every six months:
- Confirm the operator is charging the battery. On most brands the control board shows a charging indicator or a battery status light. Check the manual for yours.
- Test on battery alone. With the manual’s guidance, disconnect the main power briefly and confirm the gate completes a full open and close cycle on battery. A slow, labored cycle points to a weak battery.
- Look for swelling, corrosion, or a date sticker. A swollen case or corroded terminals means it’s time to replace it. Note when it was installed so you’re not guessing later.
- Confirm the backup setting is active. Some operators allow the battery backup to be disabled in the settings. Make sure yours is enabled.
Control board enclosure health check
- Open the enclosure and look for corrosion on the board terminals and the wire connections. Green or white crust is the first sign damp air is getting in.
- Check the gasket and knock-outs. A perished gasket, an open knock-out, or a cracked lid lets moisture and insects in. Reseal as needed.
- Clear any debris or nests from the inside of the box and confirm the board sits dry and clean.
- Check the connections at the terminal blocks. With the power off, confirm the low-voltage control wires are seated and tight.
Manufacturers design these boards to be reliable, and most brands we work with – FAAC, BFT, Linear, Viking – build for years of service. But a board can’t protect itself from an enclosure that’s letting in damp air, and that’s exactly the sort of slow problem a twice-yearly inspection catches. If you find corrosion on the board, leave it to a specialist rather than cleaning it yourself.
Annual Checklist: Structure, Alignment, and Anchors
Once a year, widen the lens from the moving parts to the gate as a structure. A gate that’s dropped, twisted, or working against worn hinges puts strain on everything upstream – the hinges, the operator, the motor arm – and no amount of lubrication fixes a structural problem. This is the pass that keeps the operator from doing work the hardware shouldn’t be asking of it.
- Check the gate for sag and square. With the gate closed, stand back and look along its line. A sagging swing gate or a slide gate that’s dropped at one end will bind and wear the operator. Note any visible drop or twist.
- Inspect the hinge plates and weld points. Look for cracks, rust blooming at the welds, or loose hinge bolts. Loose hardware works itself out over time and can fail completely.
- Tighten the anchor bolts and the post hardware. Confirm the operator’s mounting bolts and the gate hinge hardware are tight. A loose operator mount throws off alignment fast.
- Check the posts for movement. Walk each post and look for leaning or a footing that’s pulled loose. Posts need to be set at proper footing depth. A moving post pulls the whole gate out of line.
- Check the gate’s full travel for consistent clearance. Open and close it and confirm it clears the ground and any nearby structures the same way at every point in the cycle.
- Test the operator’s soft start and stop settings. Confirm the gate eases into its open and closed limits rather than slamming, which reduces wear and keeps the safety devices reliable.
- Schedule a professional tune-up if anything is out of line. A structural or alignment issue is the right time to bring in a specialist, because the fix is often a matter of adjustment rather than replacement.
This annual pass is also the moment to think about whether your gate is still doing the job you want it to. If the hardware is at the end of its life or your needs have changed, an upgrade is often the smarter spend than another round of repairs. We handle that full arc too, from diagnosis through to new gate installation, so you’re not looking for a second company when the time comes. You can read more about the repair side of that arc on our gate repair page.
Which Tasks Are Homeowner-Safe and Which Void a Warranty
Not every item on a maintenance checklist is safe to do yourself, and some of them will actually void a manufacturer warranty if you get them wrong. Knowing the difference protects both your gate and your coverage. Here’s the line we’d draw, based on what we see when we’re called out to a repair that started as a DIY job.
Homeowner-safe tasks
- Cleaning tracks, rollers, and hinge pins with a brush and lubricating them with a gate-appropriate product.
- Walking the gate by hand with the operator disengaged and listening for problems.
- Running the safety tests in the section above and noting pass or fail.
- Checking for corrosion, moisture, or debris in the enclosure and clearing debris.
- Noting the battery’s install date and condition.
- Keeping the operator’s manual where you can find it and following its user-level instructions exactly.
Tasks to leave to a specialist
- Anything that means opening the operator’s wiring or the connection to mains power. The wiring carries real current and the danger of electric shock is not theoretical. A specialist should handle any electrical fault, and they should check the power run and the safety edges as part of the job.
- Adjusting or replacing the control board. Boards are set up for a specific operator and a wrong adjustment can damage the board or the motor, and often voids the warranty.
- Adjusting the operator’s force or limit settings beyond the manual’s user-level options. The wrong limit settings strain the motor and can defeat the safety devices.
- Replacing the safety edges, photo eyes, or loop detector wiring. These are safety-critical, and the wiring and settings need to be right.
- Correcting a structural fault, a dropped gate, or a sagging operator mount. Forcing these with a wrench can crack hardware or strain the operator.
When in doubt, follow the operator’s warranty terms as the guide. Most of the tasks we’d call homeowner-safe are the user-level items the manual describes, while anything involving the wiring or the board settings is where coverage gets put at risk. A gate-only specialist knows the difference and will tell you plainly which side of the line a given fix sits on. That’s a big part of why it’s worth bringing in a specialist early.
Power-Outage Season: Red Flag Wind Event Prep
When fire weather season arrives and Red Flag wind events trigger power cuts and preemptive shutoffs, an automated gate without a healthy battery is a gate that stops working at the worst possible time. That’s why the battery backup and the manual release deserve attention before the windy season, not after the first outage. Here’s what to check and what to confirm.
- Confirm the battery backup is enabled and holds a full cycle. The biannual test in the section above is your check. If the gate only limps through a cycle on battery, replace the battery before the windy season.
- Test the manual release now. In an outage, the manual release is how you get your gate open by hand. Confirm the keyed release works and that you know exactly how it disengages the operator. If it’s stiff or you’ve never used it, that’s worth sorting out while the power is still on.
- Check the battery compartment for moisture and insects. Damp conditions can leave corrosion on the battery terminals, and a battery that’s been quietly corroding can fail when the power cuts.
- Confirm the safety devices work on battery power. Run the entrapment and loop tests after switching to battery, since the safety devices should keep working with the mains off. A fail means the gate shouldn’t be used while you’re likely to lose power.
- Have the operator’s manual number to call. The manufacturer’s service number is a sensible backup to have on hand, though a gate-only specialist will usually diagnose faster.
The goal for a Red Flag wind event is boring and simple: gate works, safety devices work, manual release works, battery holds. Get those confirmed before the season and you’ve removed the most common source of a gate that quits under a wind event. If we’re in the season already and your gate is showing a battery fault, we answer the phone and get a technician out to look at it.
Manual vs. Electric Gates: What Changes
A manual gate has no motor, no board, and no battery, so the checklist strips down to its hardware and structure. An automated gate adds the electronics on top of the same hardware, which is why an electric gate fails in two different ways – mechanical wear and electrical faults – and needs both looked at. Here’s how the schedule changes with the type of gate you own.
Manual gate checklist
- Quarterly: clean and lubricate the hinges, rollers, and latches; walk the full swing or slide path to catch binding.
- Annually: check for sag and square, tighten hinge and post hardware, inspect for weld cracks and post movement.
- Always: confirm the gate moves freely by hand and that any latch or lock works cleanly.
Electric gate checklist
- Quarterly: all of the manual items, plus the manual release test, the entrapment and loop safety tests, and a look inside the control board enclosure.
- Biannually: the battery backup test and the control board enclosure health check.
- Annually: the full structural and alignment pass, plus a check of the operator’s soft start and stop and the full travel for clearance.
- Always: never operate an automated gate with a known safety-device failure, and keep the wiring and board work with a specialist.
Whether your gate is residential or commercial, automated or manual, the cadence is driven by the hardware and the climate more than the brand. That said, some operators ask a bit more of you, and knowing your unit helps you apply the right cycle. If you’re not sure what you’re running, that’s a quick thing for a specialist to identify on a site visit.
Common Mistakes to Avoid
- Following a once-a-year interval. The generic advice to lubricate yearly was written for a mild average climate. In Ventura, a quarterly cycle on the hinge pins and motor shaft is what keeps a gate moving freely through the marine layer and the hot Santa Ana wind events.
- Greasing the track. Lubricant on a slide gate’s track attracts grit and creates a paste that wears the rollers faster. Clean the track and keep it dry; lubricate the rollers and hinges, not the rail.
- Skipping the safety tests because the gate “seems fine.” Safety devices fail quietly, and a gate that passes when you glance at it can fail the moment a child or a pet is in the path. Run the pass/fail tests every quarter.
- Ignoring moisture in the control board enclosure. Corrosion on a board starts small and works its way in. Clearing debris, fixing a gasket, and checking for corrosion twice a year is far cheaper than a board replacement.
- Tinkering with the board or the wiring to “fix” a fault. The wiring carries real current and the board is set up for a specific operator. Getting it wrong can defeat the safety devices and void the warranty.
- Running a gate with a known mechanical fault. A gate that binds, drops, or sags wears the operator and the motor arm every cycle. Fix the structural problem rather than pushing through it.
- Letting the battery backup go untested until an outage. A battery that’s quietly degraded holds up in daily use and fails on the first power cut. Test it twice a year, before the windy season.
See the difference
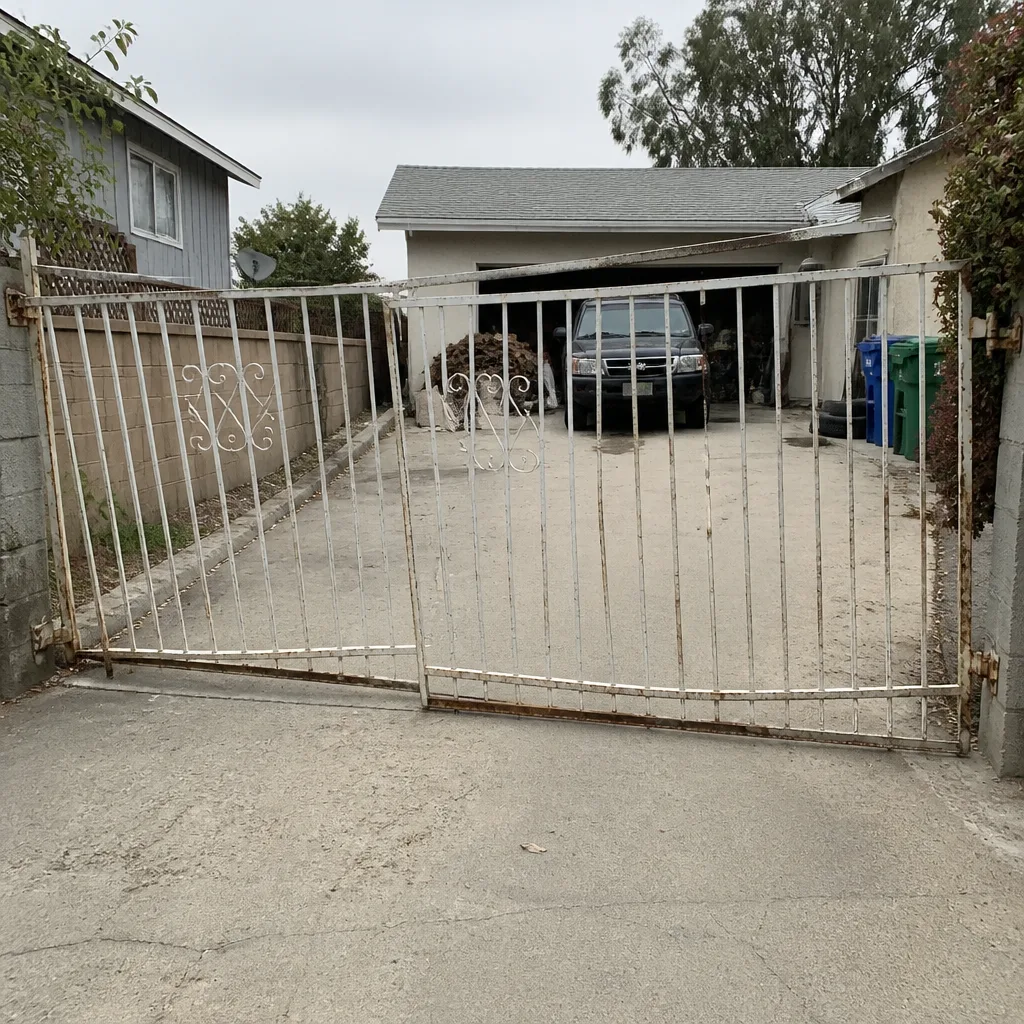 Before
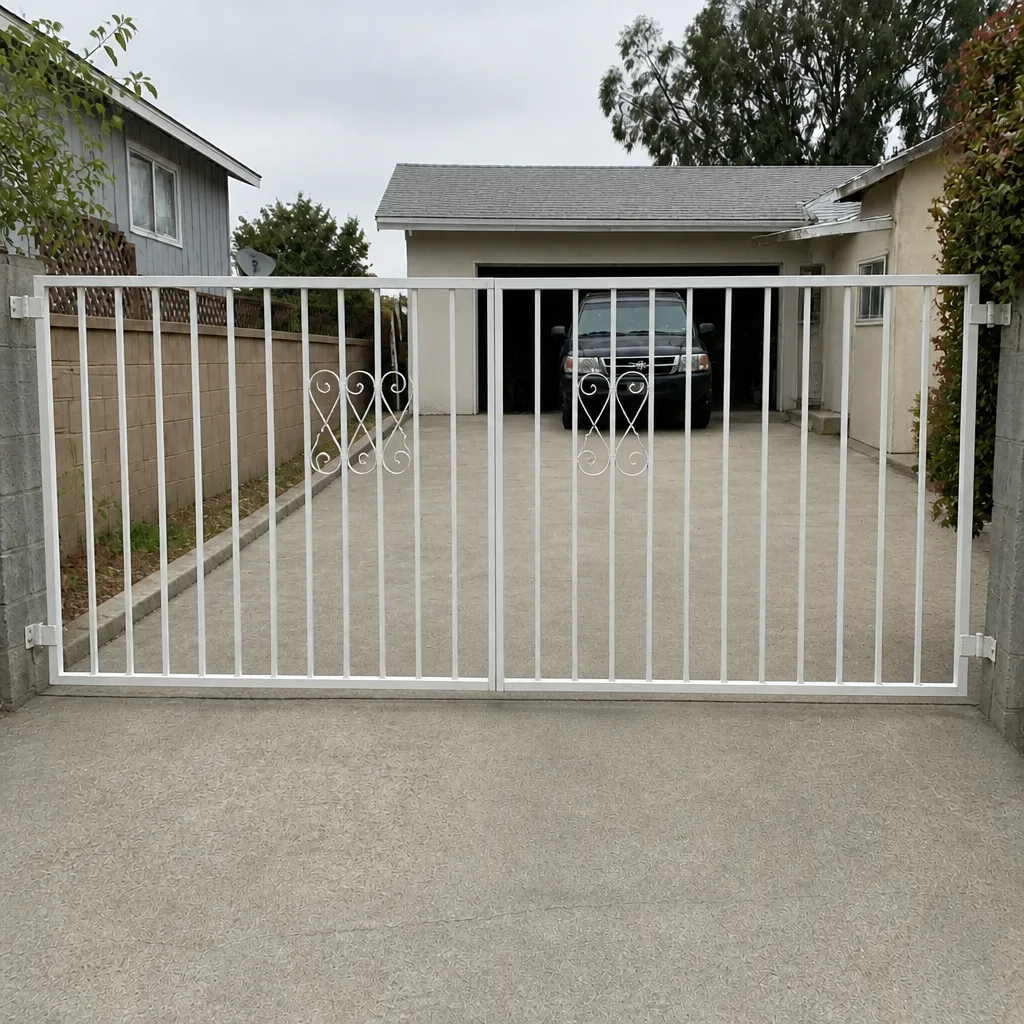 After
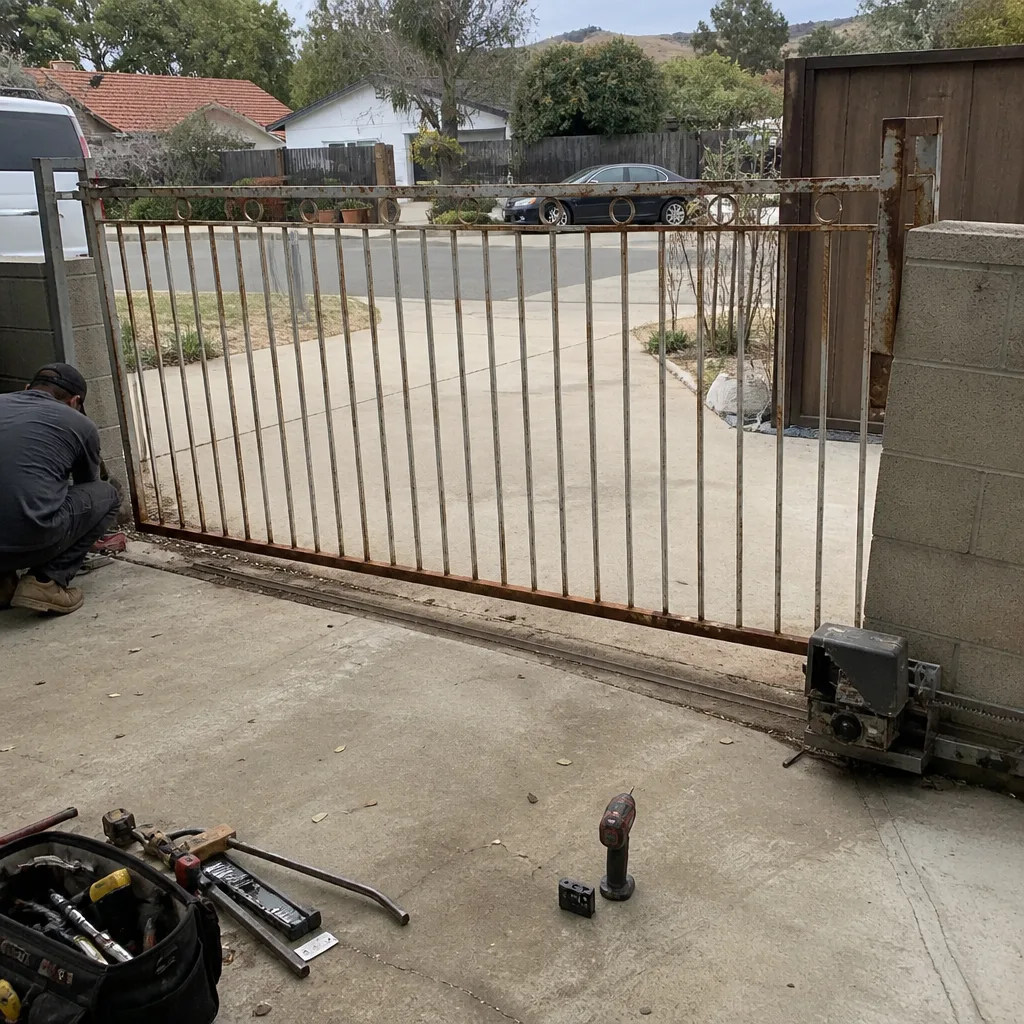 Before
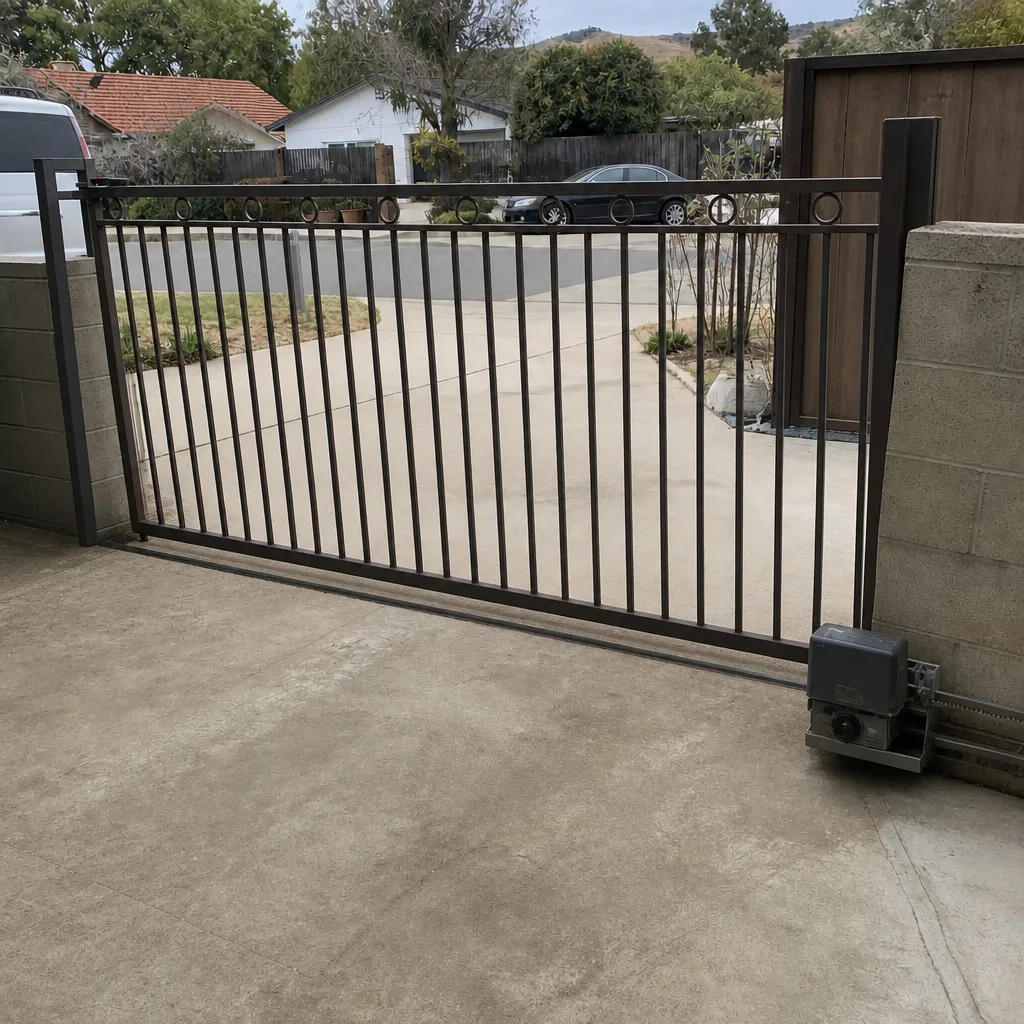 After
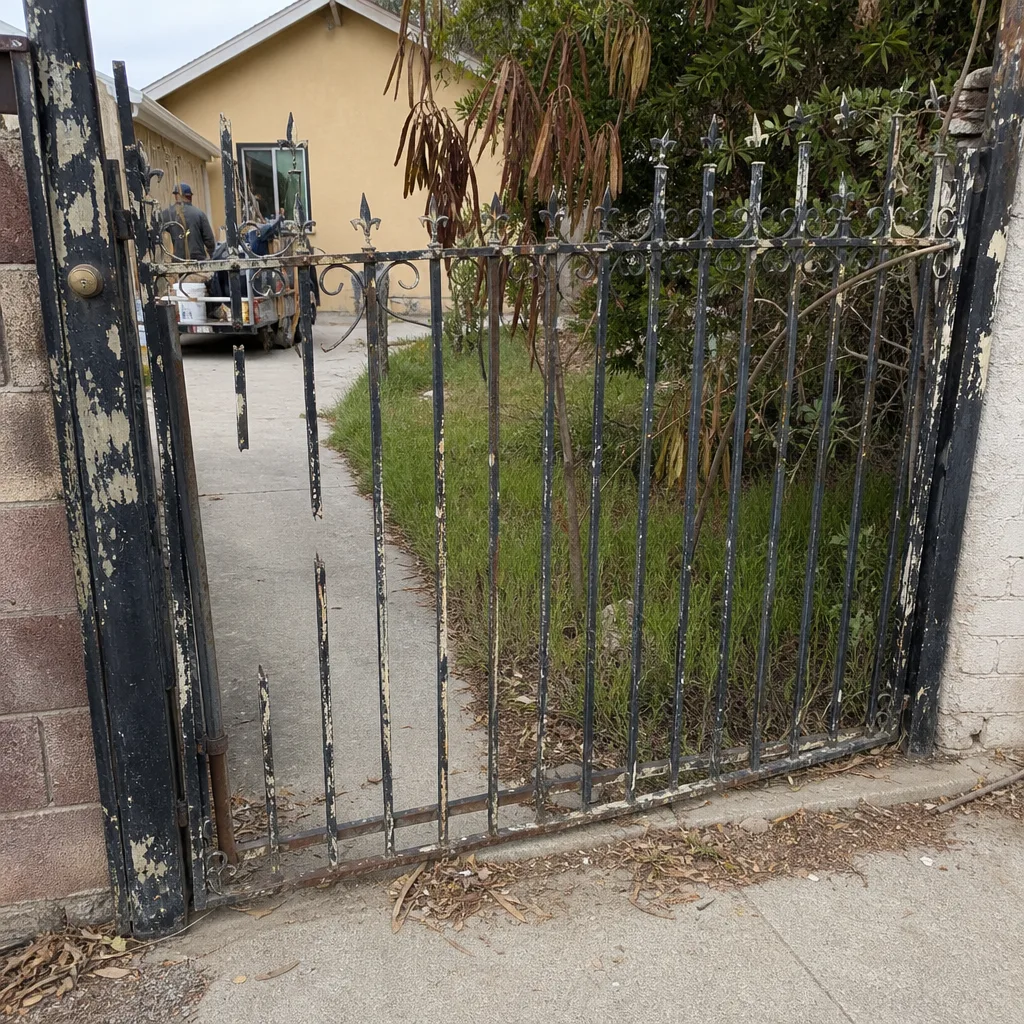 Before
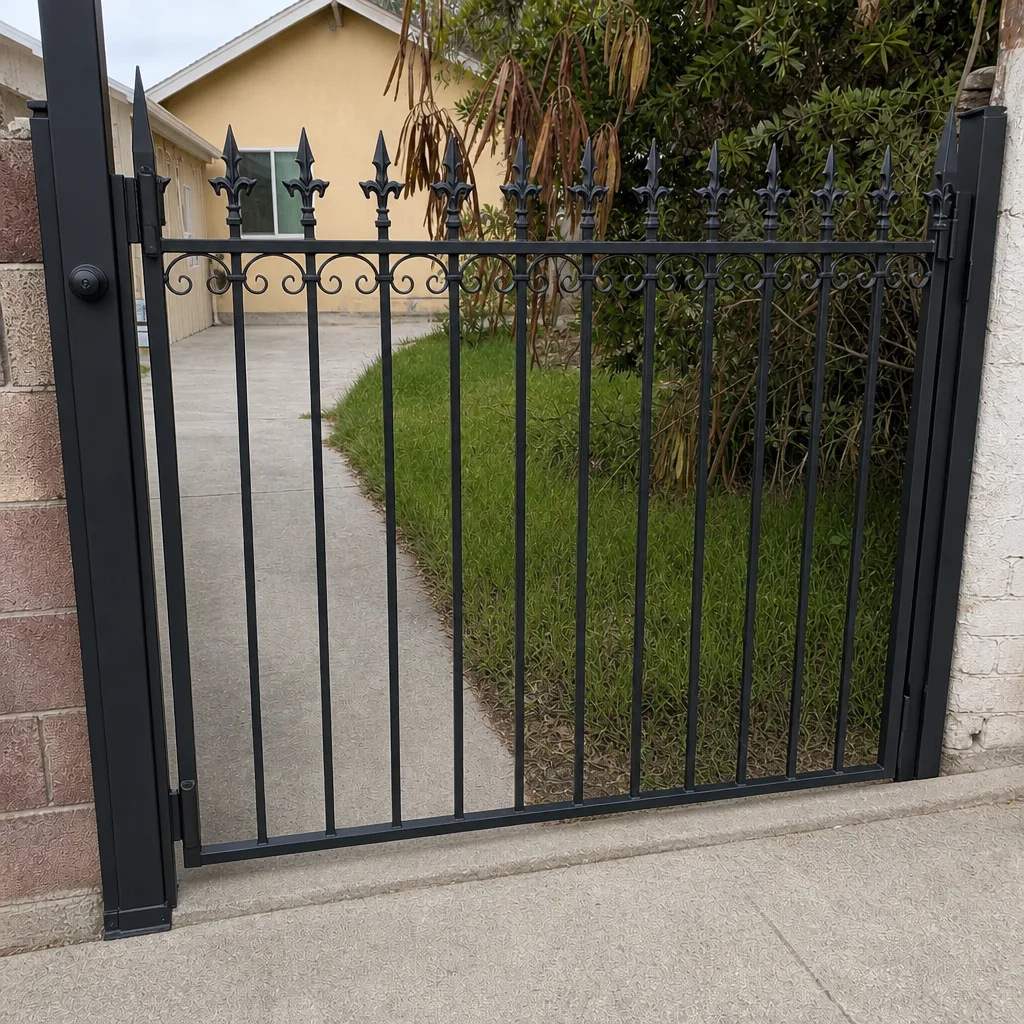 After
When to Call a Professional
Some problems are a maintenance item and some are a repair that belongs with a gate-only specialist, and knowing the difference saves both money and downtime. Call a professional when any of the following is true: a safety device fails the entrapment or loop test; the gate binds, drops, sags, or won’t travel a full path cleanly; there’s corrosion or moisture on the control board; the wiring or the power run needs attention; the battery won’t hold a full cycle after a proper test; or the operator makes an unusual noise or strains through a cycle. Heavy gate panels can cause serious injury and the operator’s wiring carries real current, so anything electrical or structural is worth a specialist’s hands. Ventura Gate Repair offers free estimates in Ventura – call (833) 361-4971. We answer 24/7. Fast dispatch from 7am to 7pm, Sunday through Friday.
Frequently Asked Questions
Run a quarterly cycle on the moving parts and safety devices, a biannual check on the battery backup and control board enclosure, and a full annual structural and alignment pass. The marine layer and hot Santa Ana winds here wear hardware and expose electronics faster than the average climate, so the short cycles matter more than a single yearly service. If you’d rather have a specialist set the cadence for your specific gate, call (833) 361-4971 for a free estimate.
Yes – cleaning and lubricating the hinge pins, rollers, and motor shaft is a homeowner-safe task, and it’s the highest-value maintenance item on the list. Keep lubricant off a slide gate’s track, where it attracts grit, and stay away from anything involving the wiring or the control board settings. If the gate still binds after lubrication, that’s a sign of an alignment or structural issue worth a specialist’s look.
Start a close cycle, break the photo eye beam or press the safety edge, and watch whether the gate stops and reverses immediately – that’s a pass, and anything else is a fail. For loop detectors, drive onto the loop and confirm the gate opens or holds open and doesn’t close until you’re clear. Run both tests every quarter using your operator’s manual for the exact procedure. A gate that fails a safety test shouldn’t be operated automatically – call (833) 361-4971 to get it looked at.
Any work on the operator’s wiring or mains power, adjusting or replacing the control board, changing force or limit settings beyond the manual’s user-level options, and replacing safety edges, photo eyes, or loop wiring all put the manufacturer warranty at risk if done wrong. Stick to the user-level tasks the manual describes – cleaning, lubricating, and the safety tests – and leave the rest to a specialist. When in doubt, follow the warranty terms as your guide.
Yes – a healthy battery backup is what keeps your gate working when Red Flag wind events trigger power cuts and preemptive shutoffs. Test the battery on a full cycle twice a year and confirm it’s enabled, and confirm the manual release works while the power is still on. A battery that’s quietly degraded in daily use can fail on the first outage. If the battery won’t hold a cycle, call (833) 361-4971 for a free estimate.
Yes – a manual gate skips the motor, board, and battery, but its hardware and structure need the same attention. Clean and lubricate the hinges, rollers, and latches quarterly, and check for sag, square, and loose hinge or post hardware annually. A manual gate that binds, drops, or sags is telling you the same thing an automated gate would: the hardware needs service before wear gets expensive.
The Bottom Line
A gate maintenance checklist that works in Ventura is built around the climate here, not a generic yearly calendar. Run the moving parts and safety devices every quarter, the battery backup and control board enclosure twice a year, and the structure, alignment, and anchors once a year. Keep the wiring and the board work with a specialist, learn your operator’s manual, and test the battery and manual release before the windy season. Do those things and your gate stays in service, whether it’s a light residential setup or a heavy commercial operator. If you’d rather hand the whole checklist to someone who does this every day, call (833) 361-4971. We answer 24/7. Fast dispatch from 7am to 7pm, Sunday through Friday. Ventura Gate Repair offers free estimates in Ventura – the price is set per job by the written estimate, quoted and agreed before any work starts.
If you want to see how we handle the repair side of what this checklist turns up, take a look at our Ventura service area and get in touch. We cover every brand in the checklist, and then some.
Written by the team at Ventura Gate Repair.